 |
|
|
|
From the Unity menu bar:

This opens a floating (or dockable) window split into two columns:
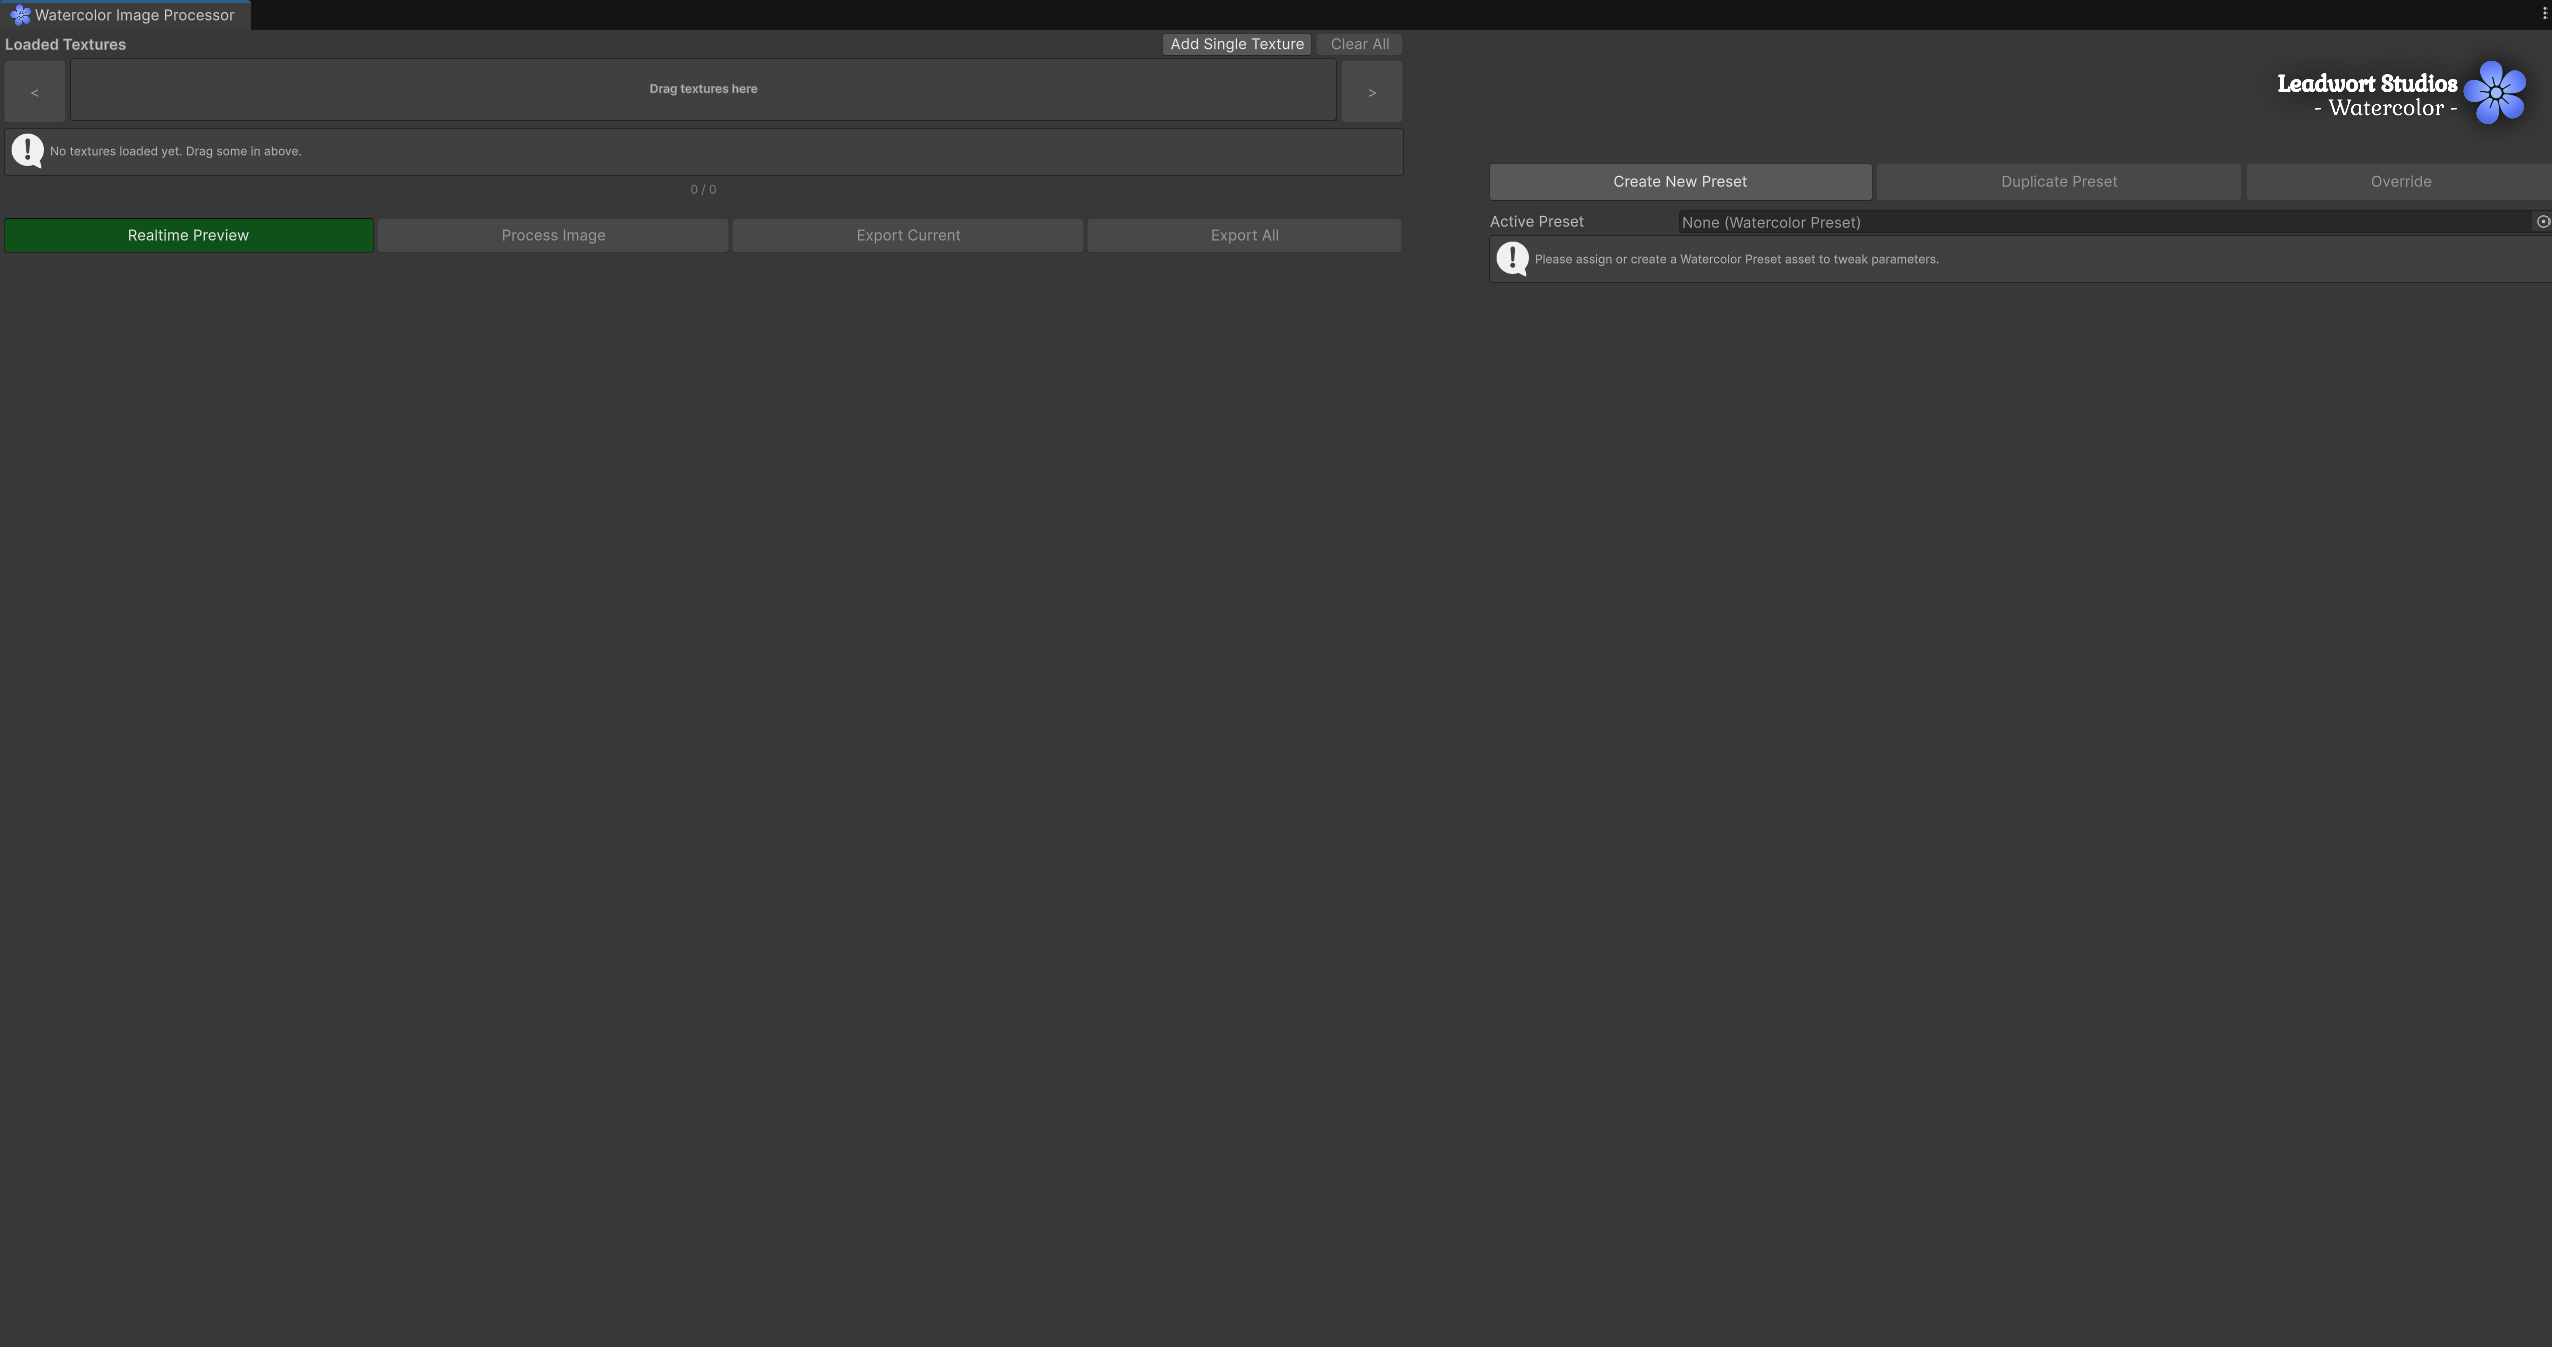
The window works with a list of textures, so you can queue up several images and process them under the same preset.
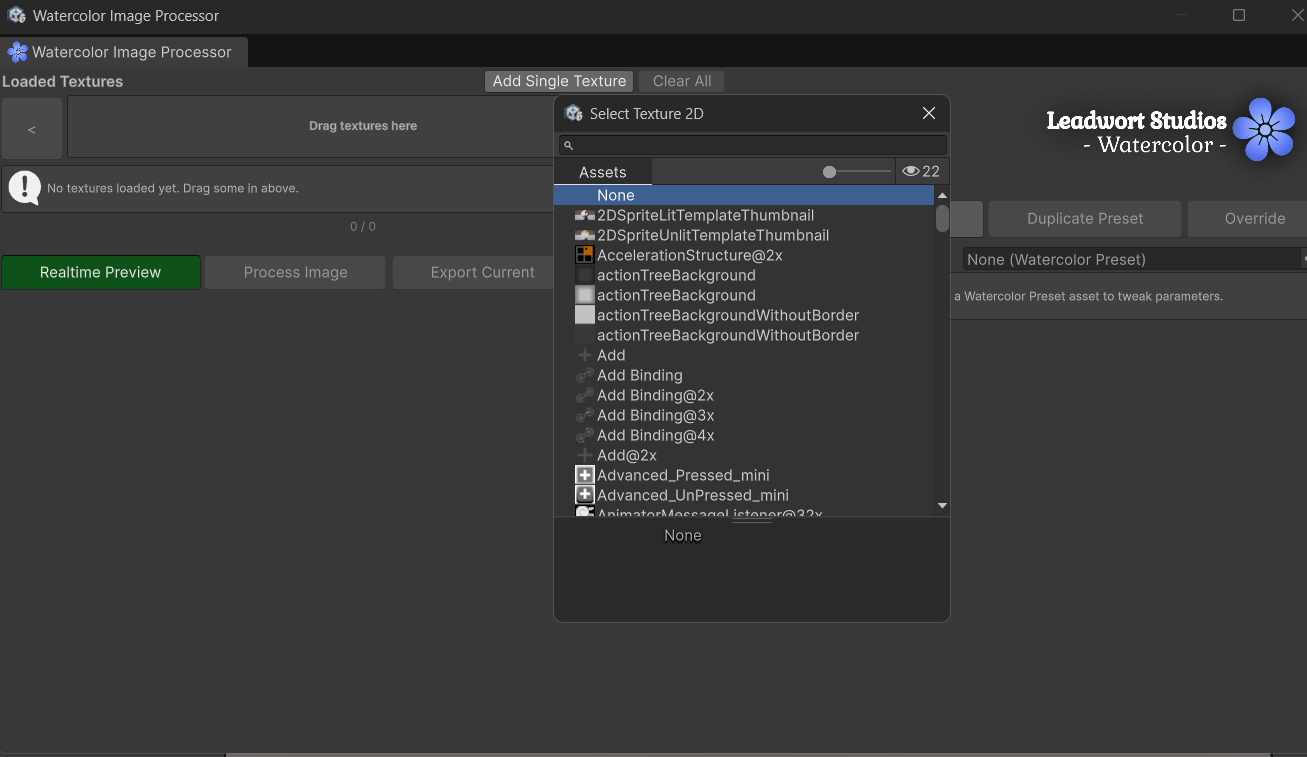
Under Loaded Textures, you have two ways to add images:
Note: Textures you've added stay in the list across sessions.
Once you have more than one texture loaded, use the < / > arrows on either side of the drop area, or click directly on a thumbnail in the strip below, to switch which texture is active. The counter (e.g. 2 / 5) shows your position in the list.
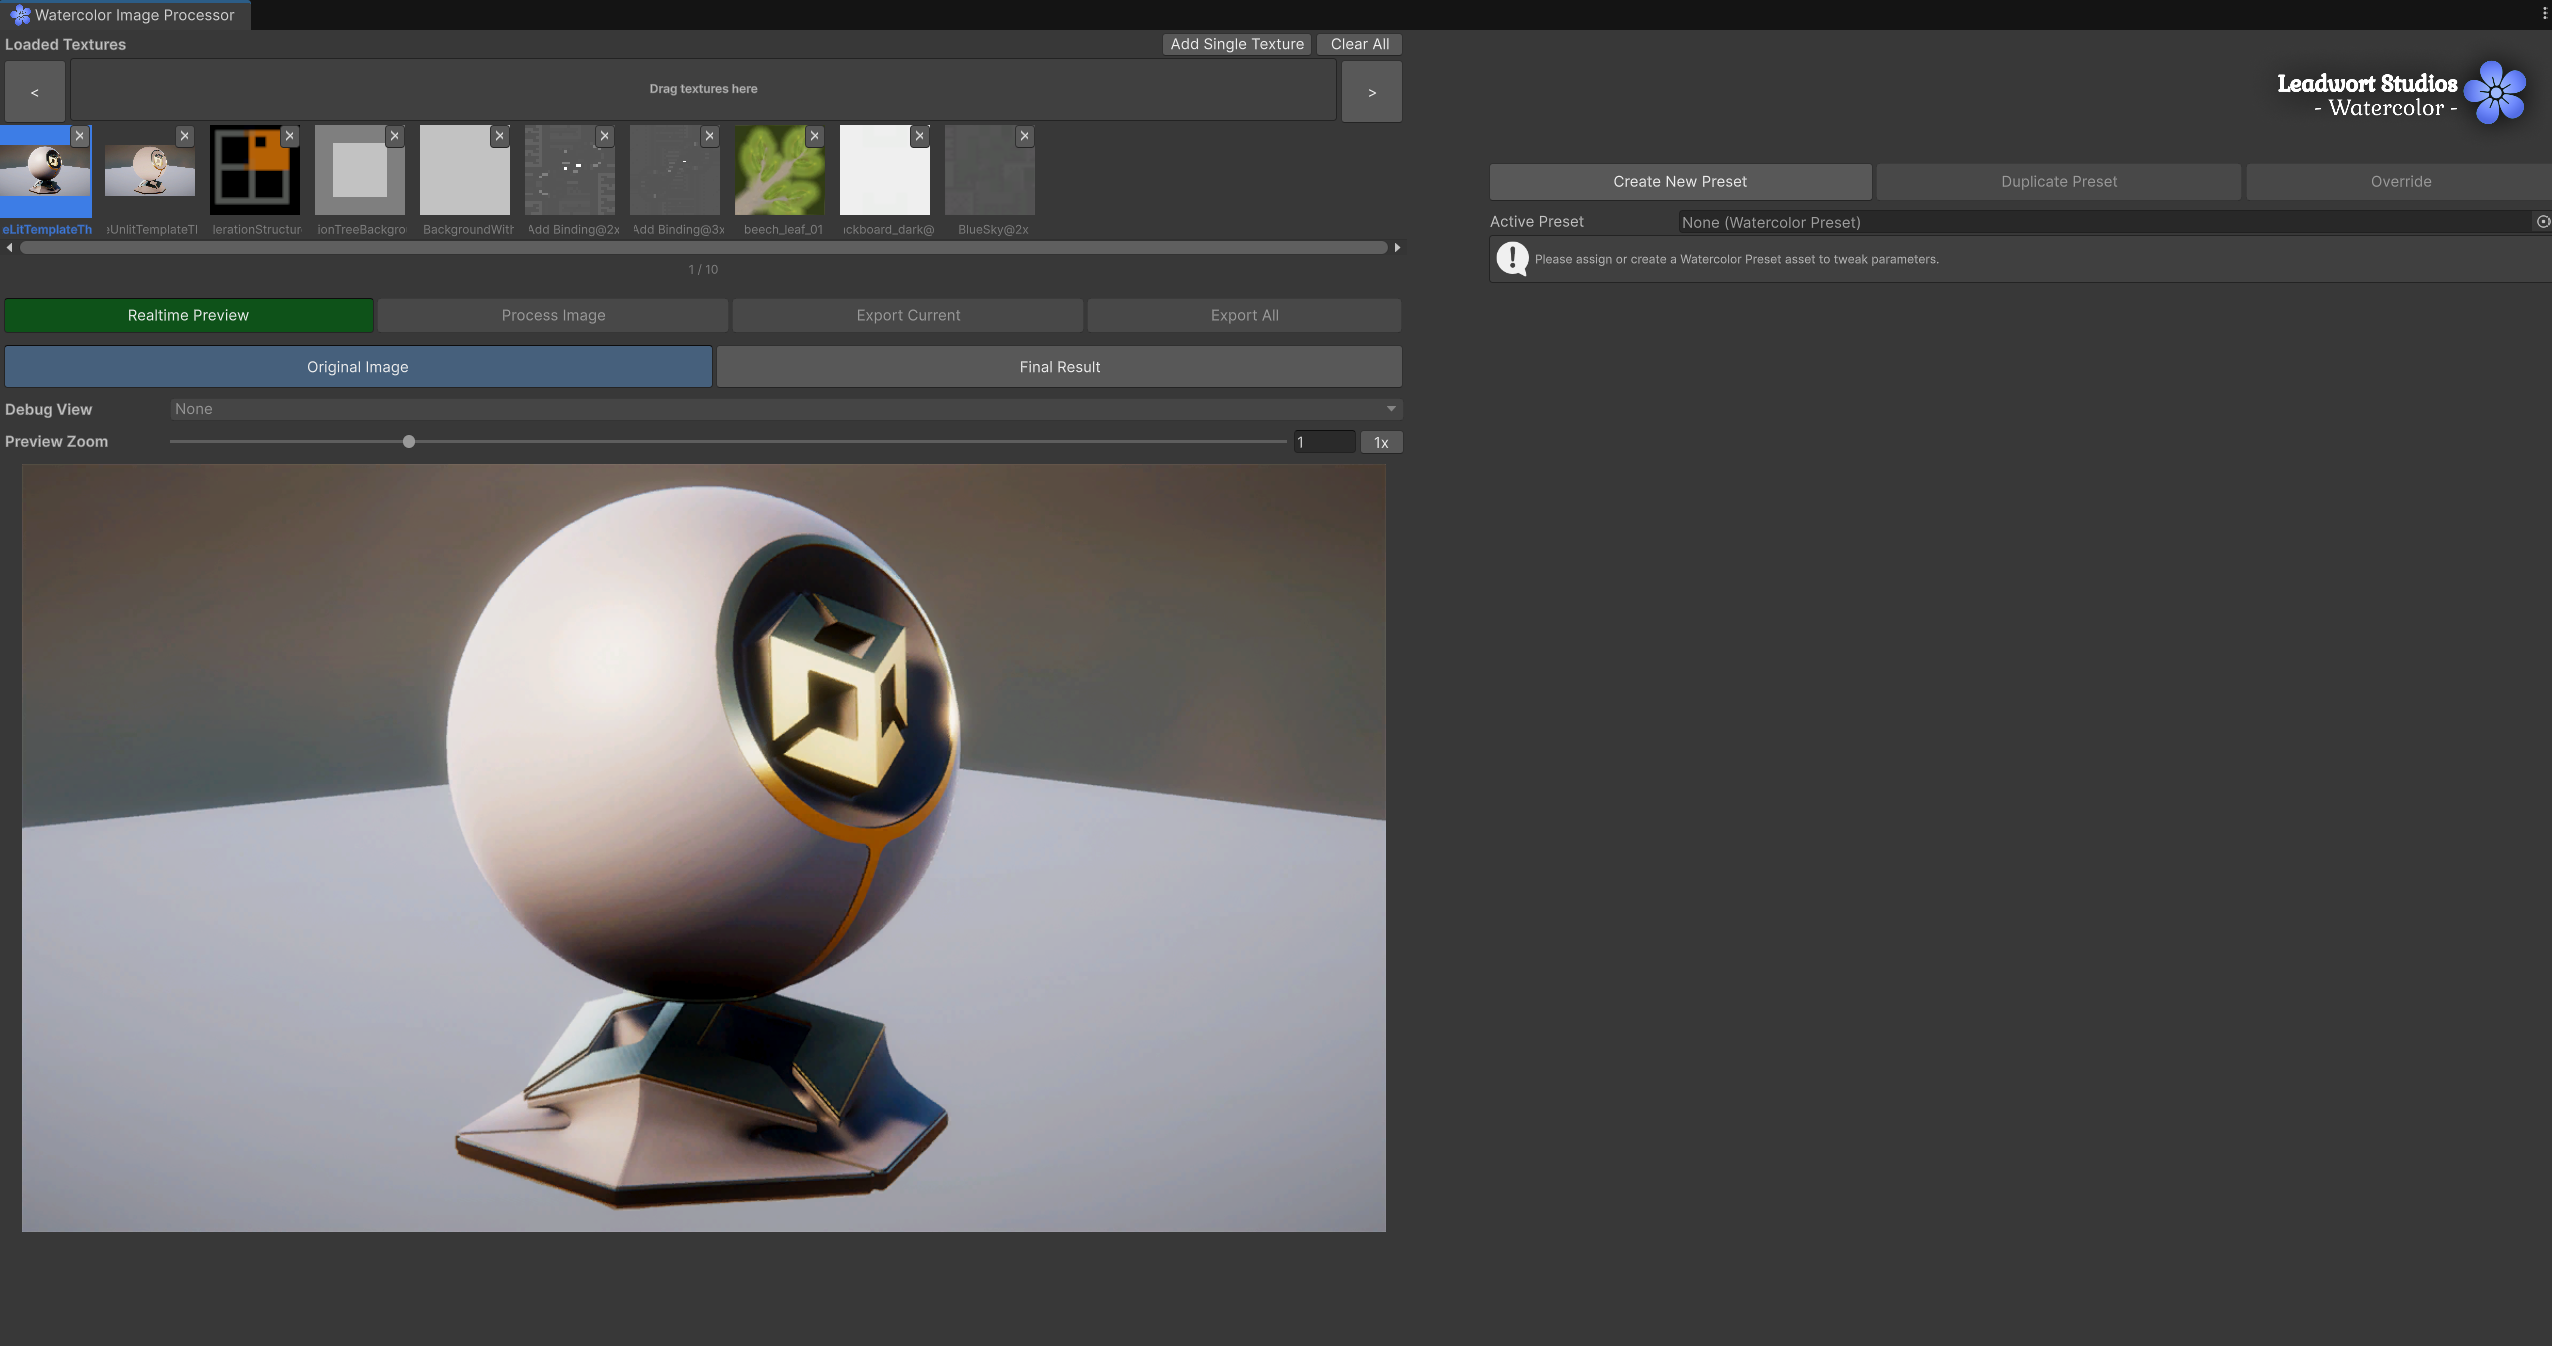
To remove a texture, click the small ✕ button on its thumbnail. To clear everything, use Clear All (this asks for confirmation first).
Note: any imported Texture2D in the project works as input. If a texture has invalid dimensions (0x0) or can't be read, the window will warn you and won't attempt to process it.
Without a Watercolor Preset assigned, the parameters panel stays empty and you will only see a notice asking you to assign or create one.
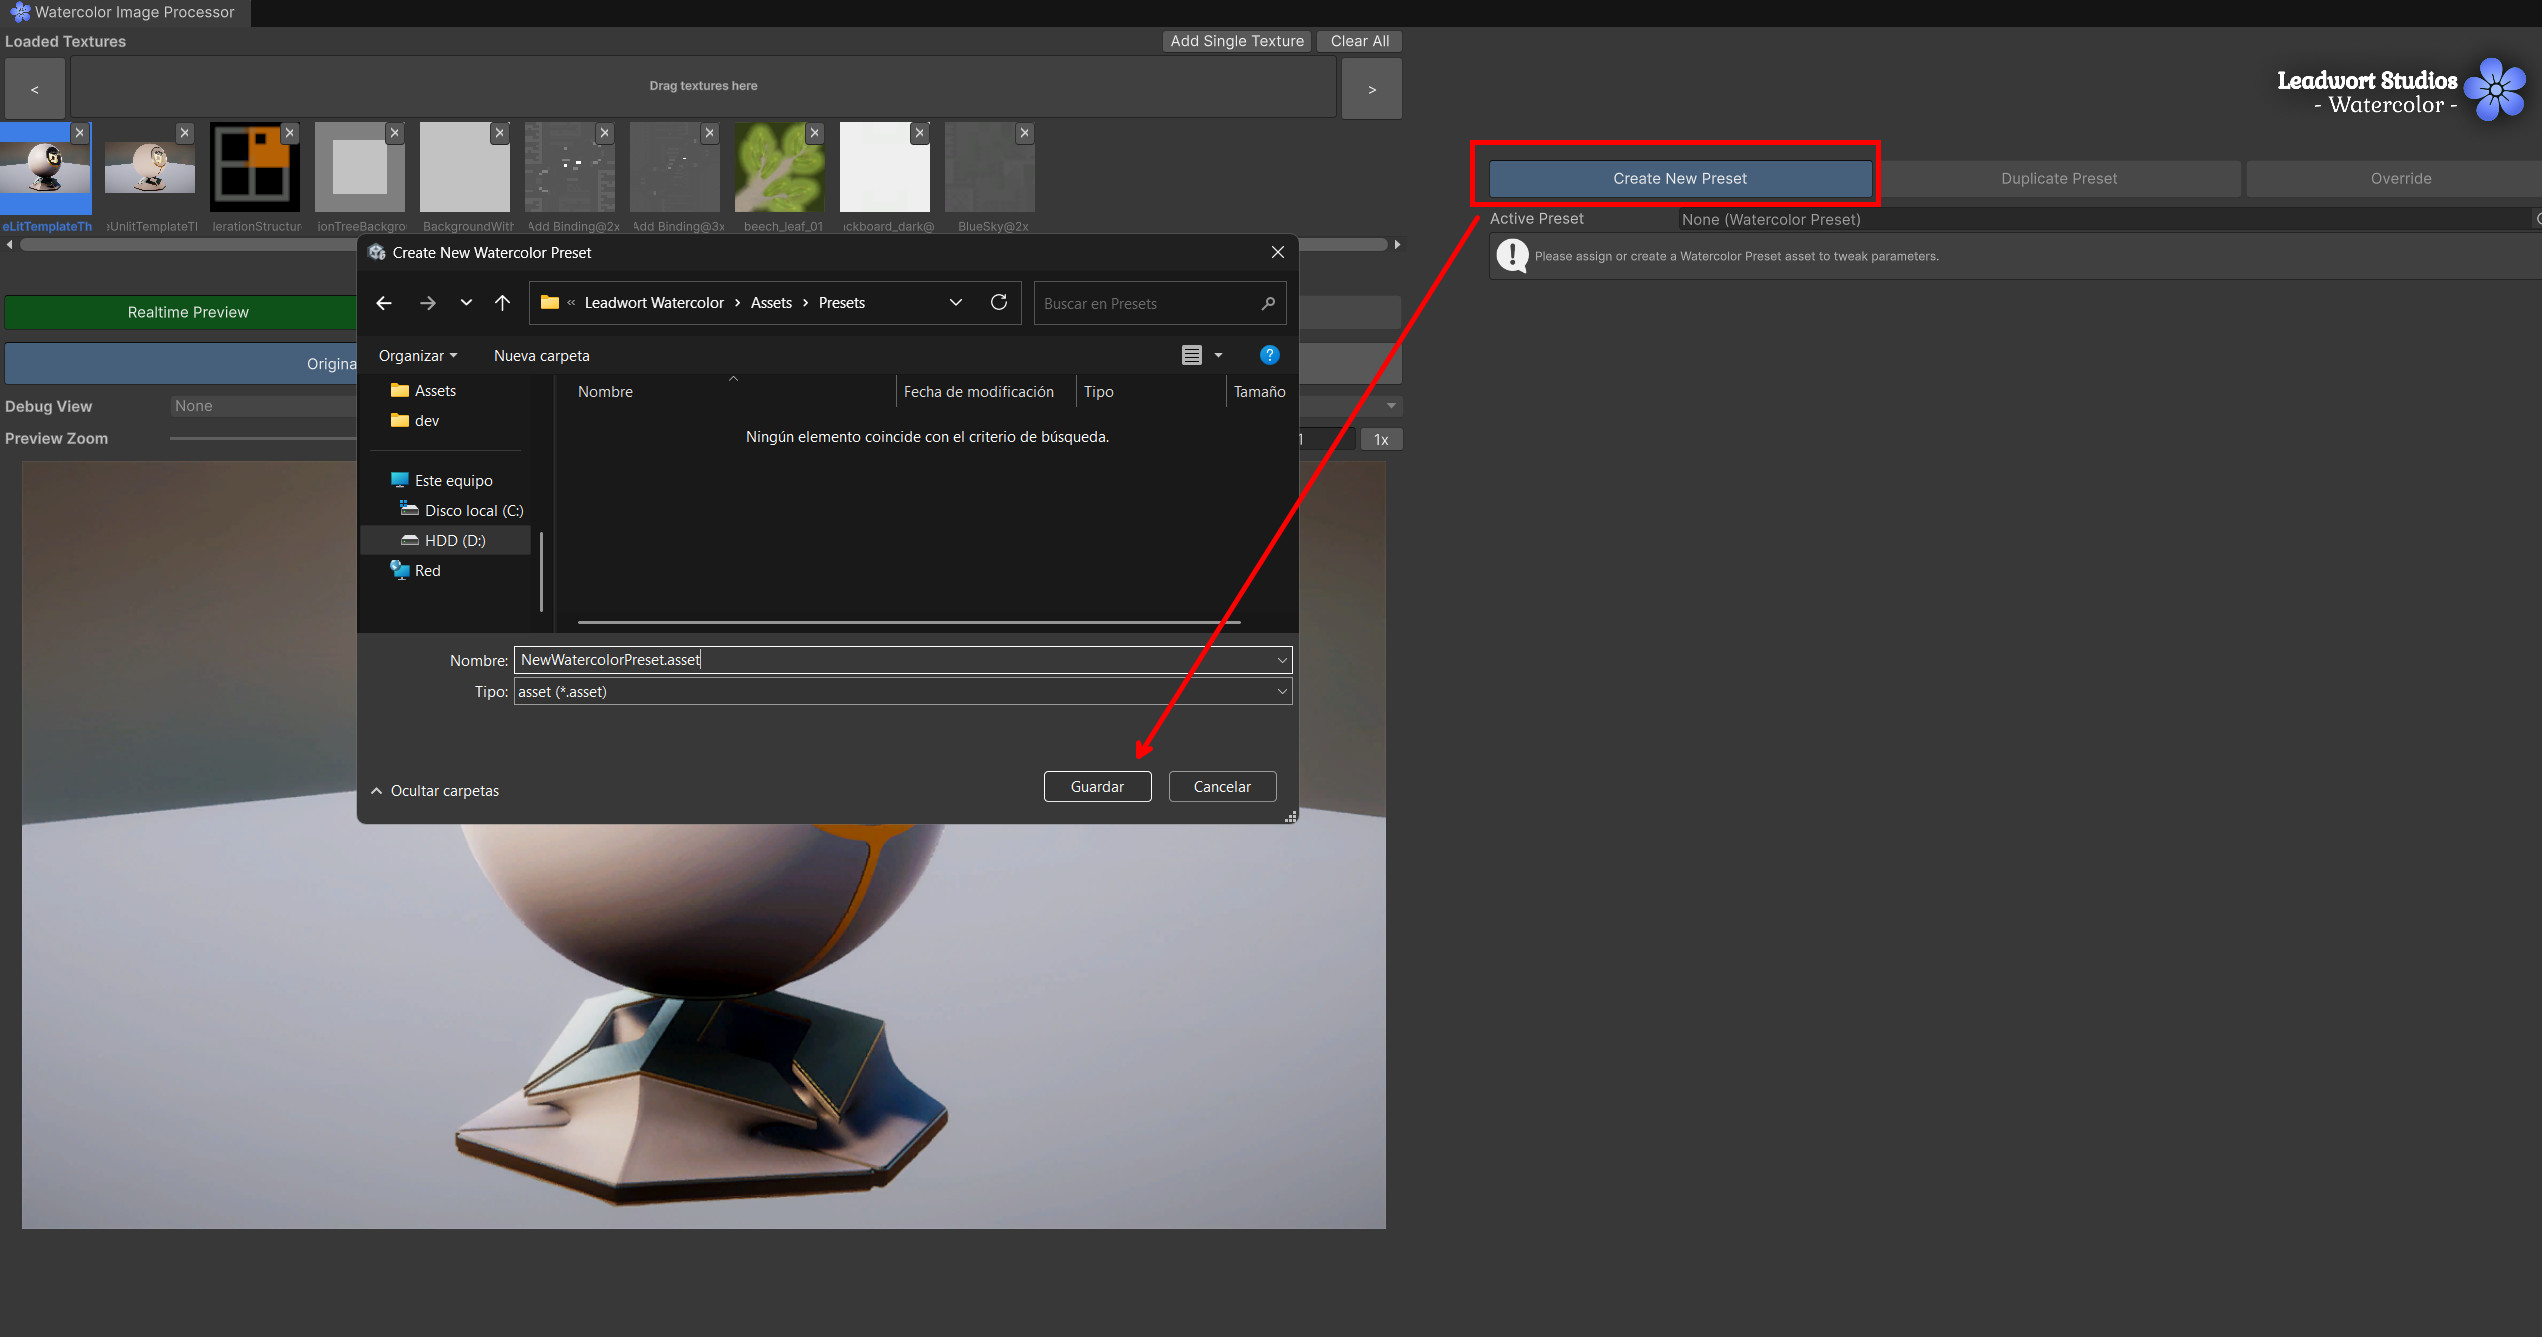
You have three options:
Click Create New Preset. A dialog will open to choose a name and location within the project (Assets/...). The preset is created as an .asset file and is automatically assigned as the active preset.
Drag an already-created WatercolorPreset asset into the Active Preset field, or select one with the object picker.
Click Duplicate Preset to save a copy of the currently active preset under a new name, then keep tweaking the copy without touching the original. Useful for branching off a variant (e.g. "Soft Preset" → "Soft Preset — High Contrast").
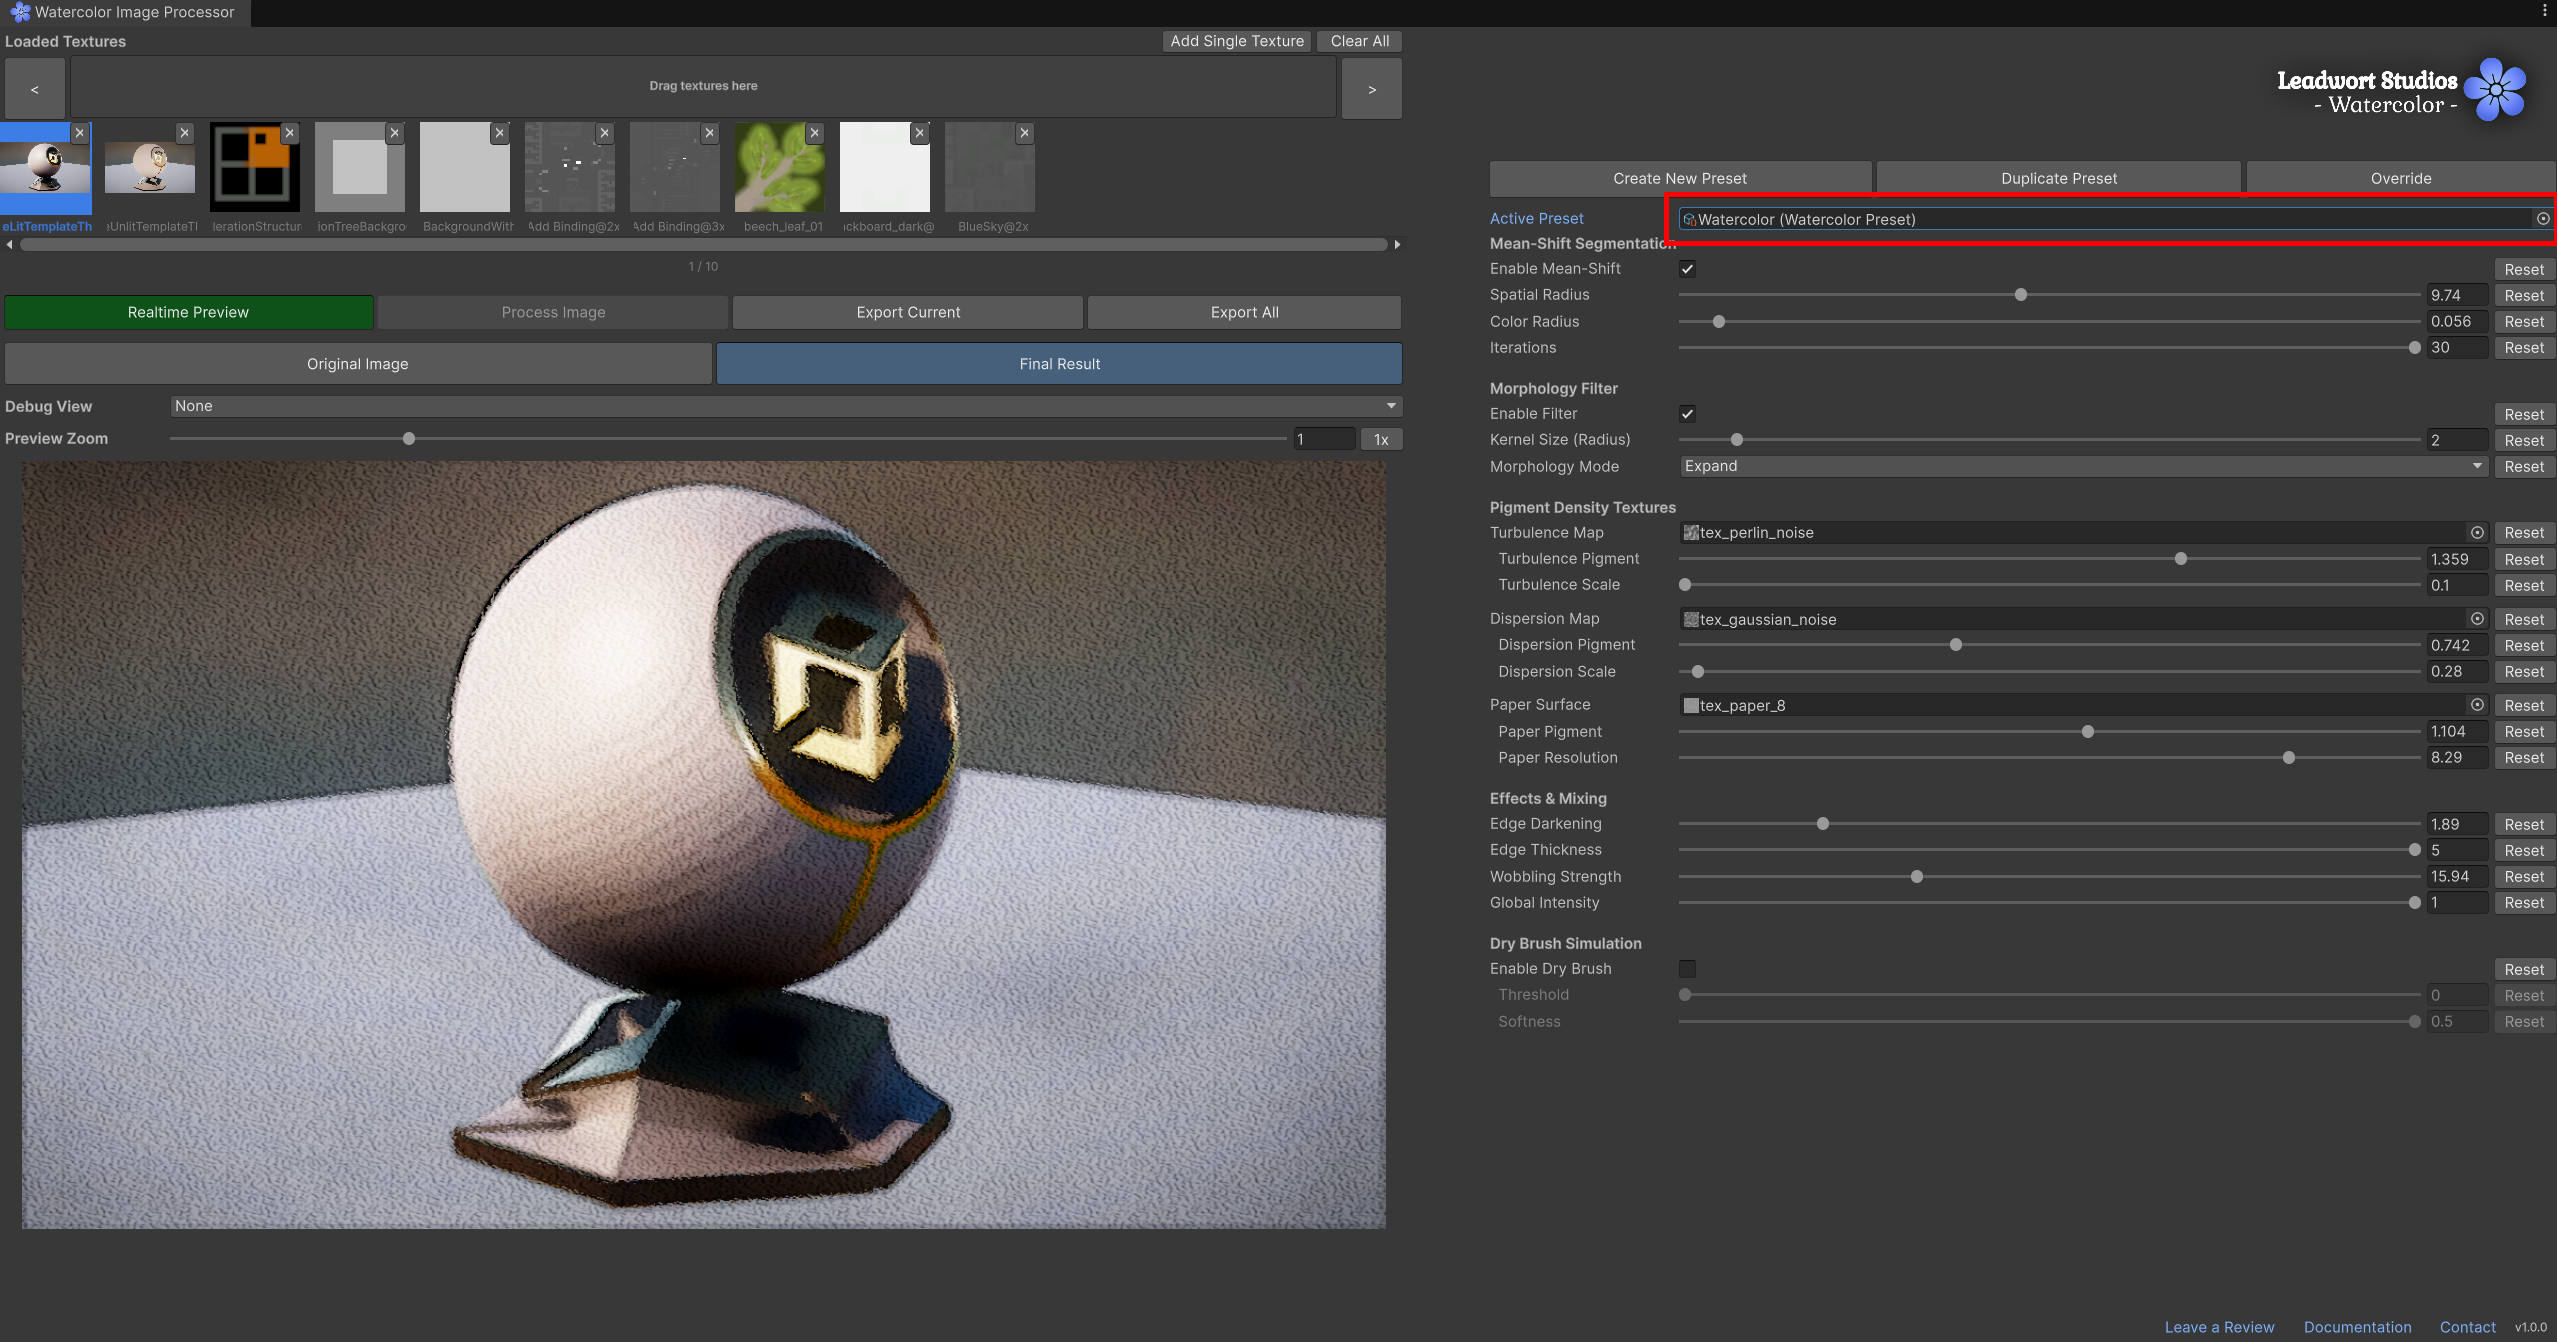
Presets are reusable: you can have several different presets (e.g. "Soft Preset", "High Contrast Preset") and switch between them without losing each one's configuration, since every value is stored on its own asset.
Sometimes one image in your batch needs slightly different settings than the rest, without creating (and remembering to assign) a whole separate preset asset.
Click Override while a texture is selected to branch off a private copy of the active preset just for that texture. The button highlights orange while an override is active.
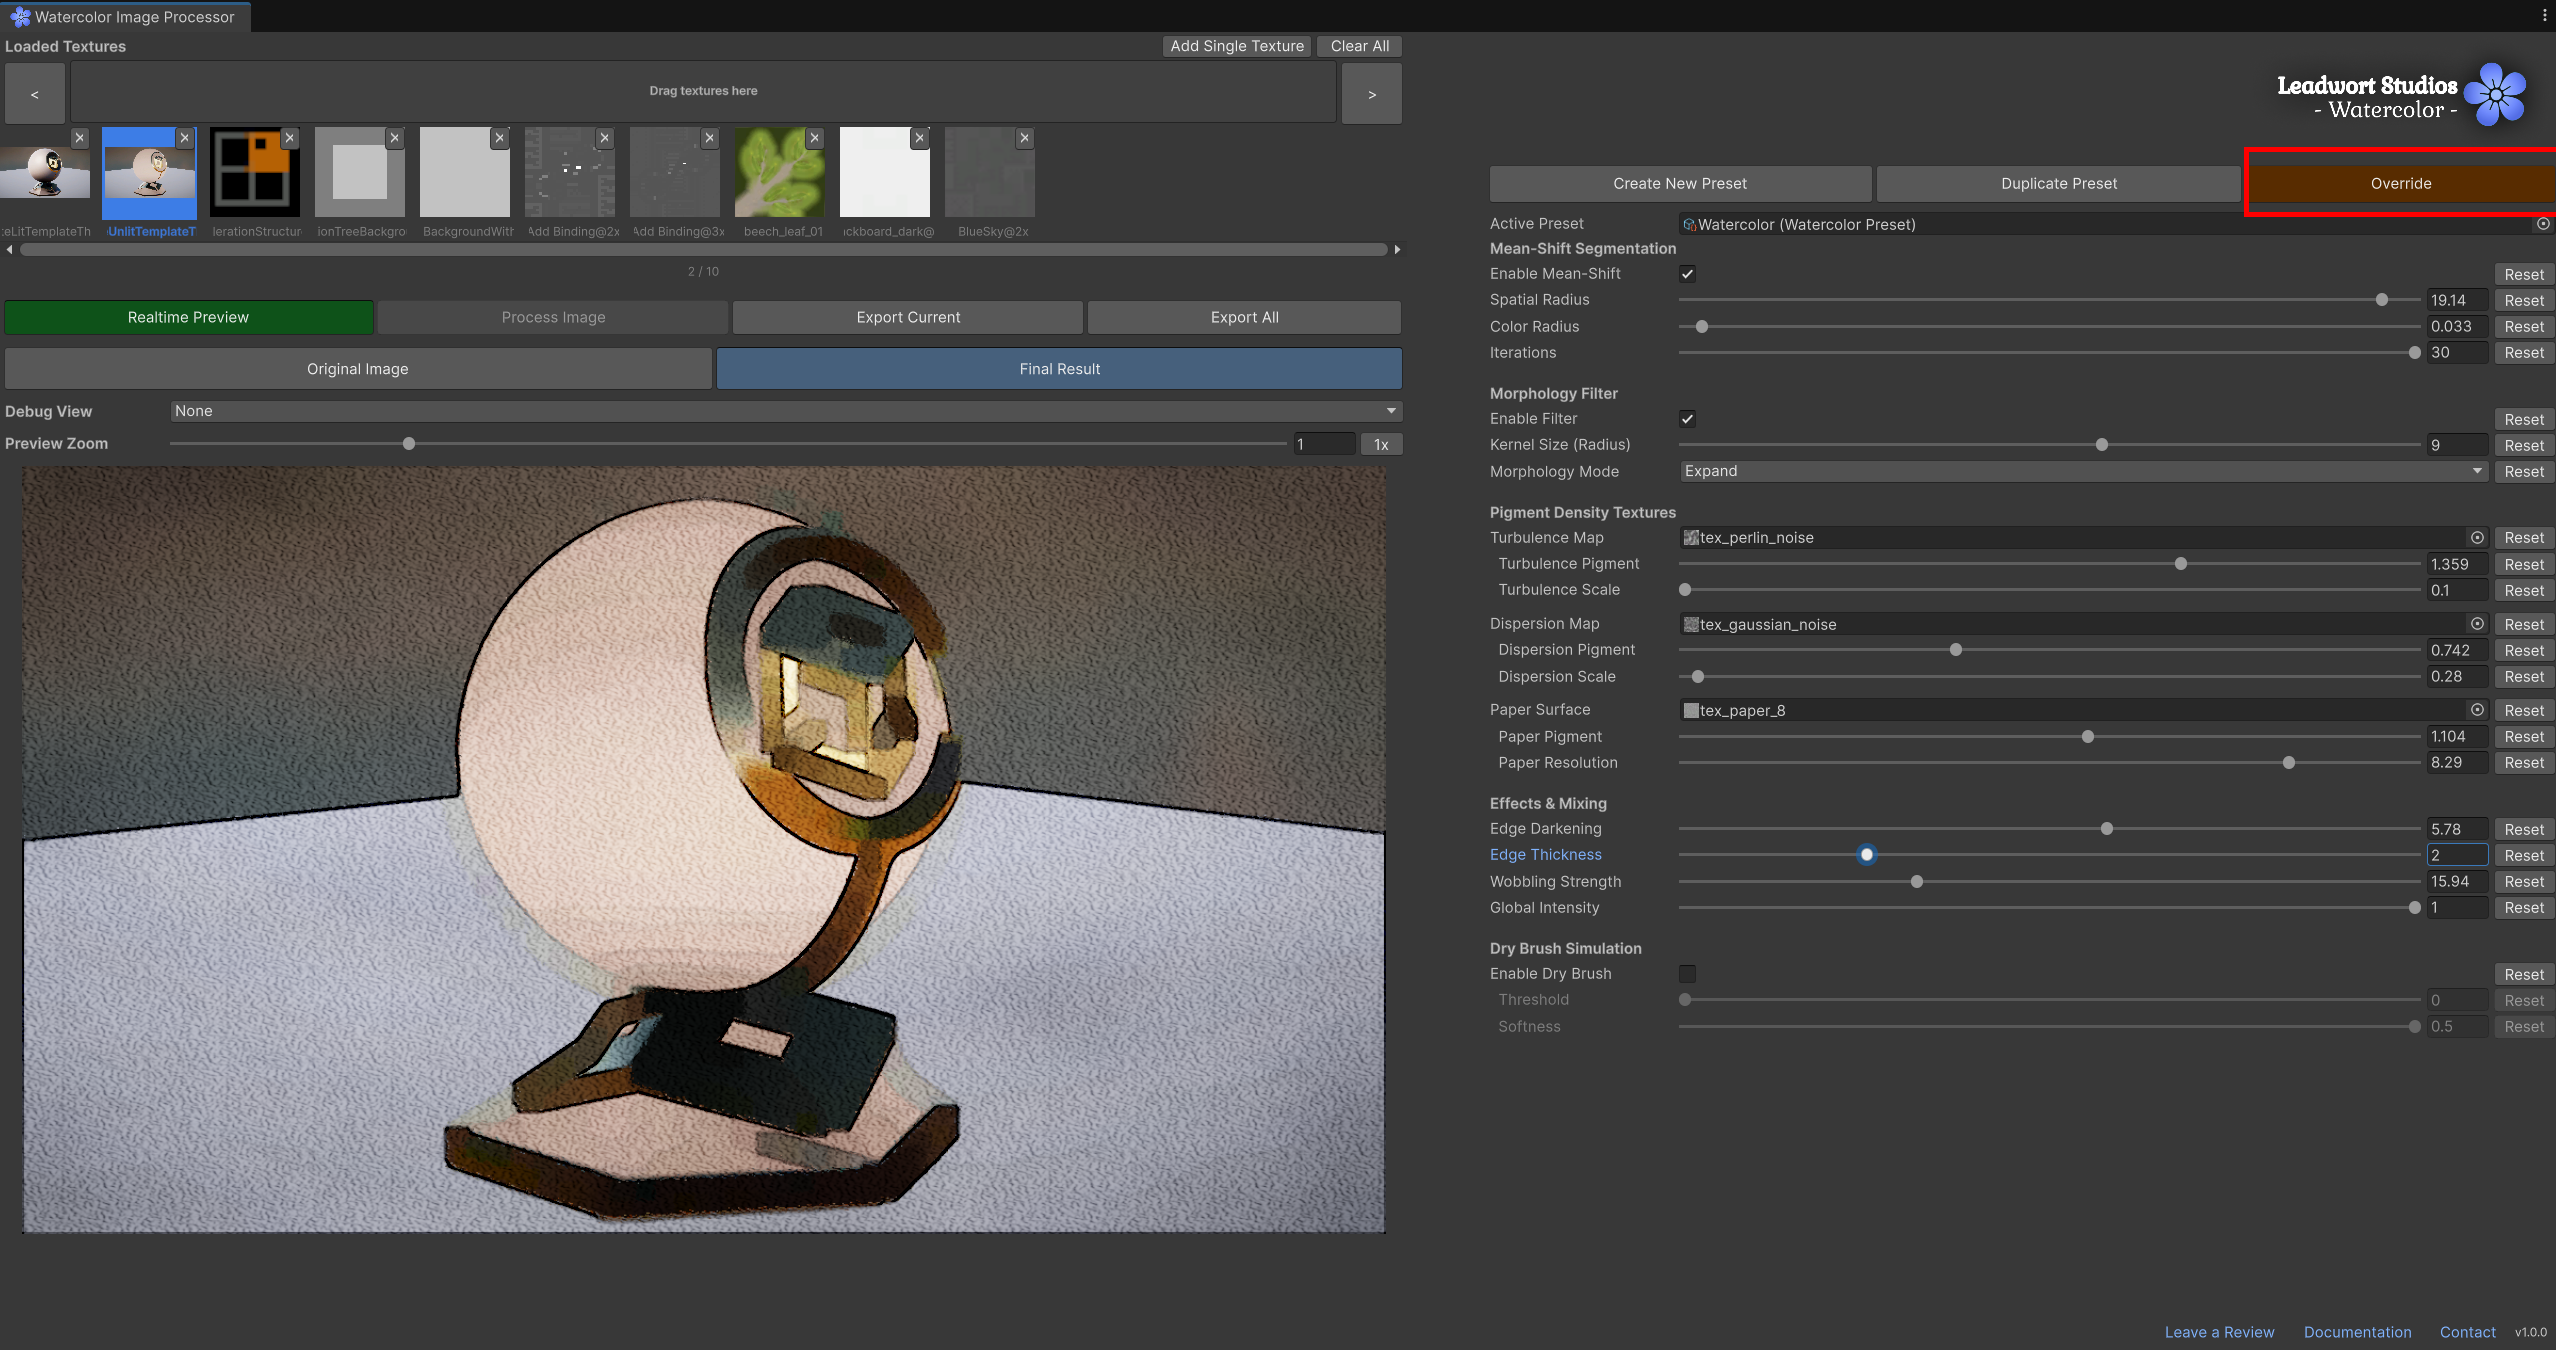
This is useful for batch exports where most images share a look, but one or two need a tweak (e.g. a busier image needing a larger Spatial Radius).
With at least one texture and a preset assigned, you have two workflows:
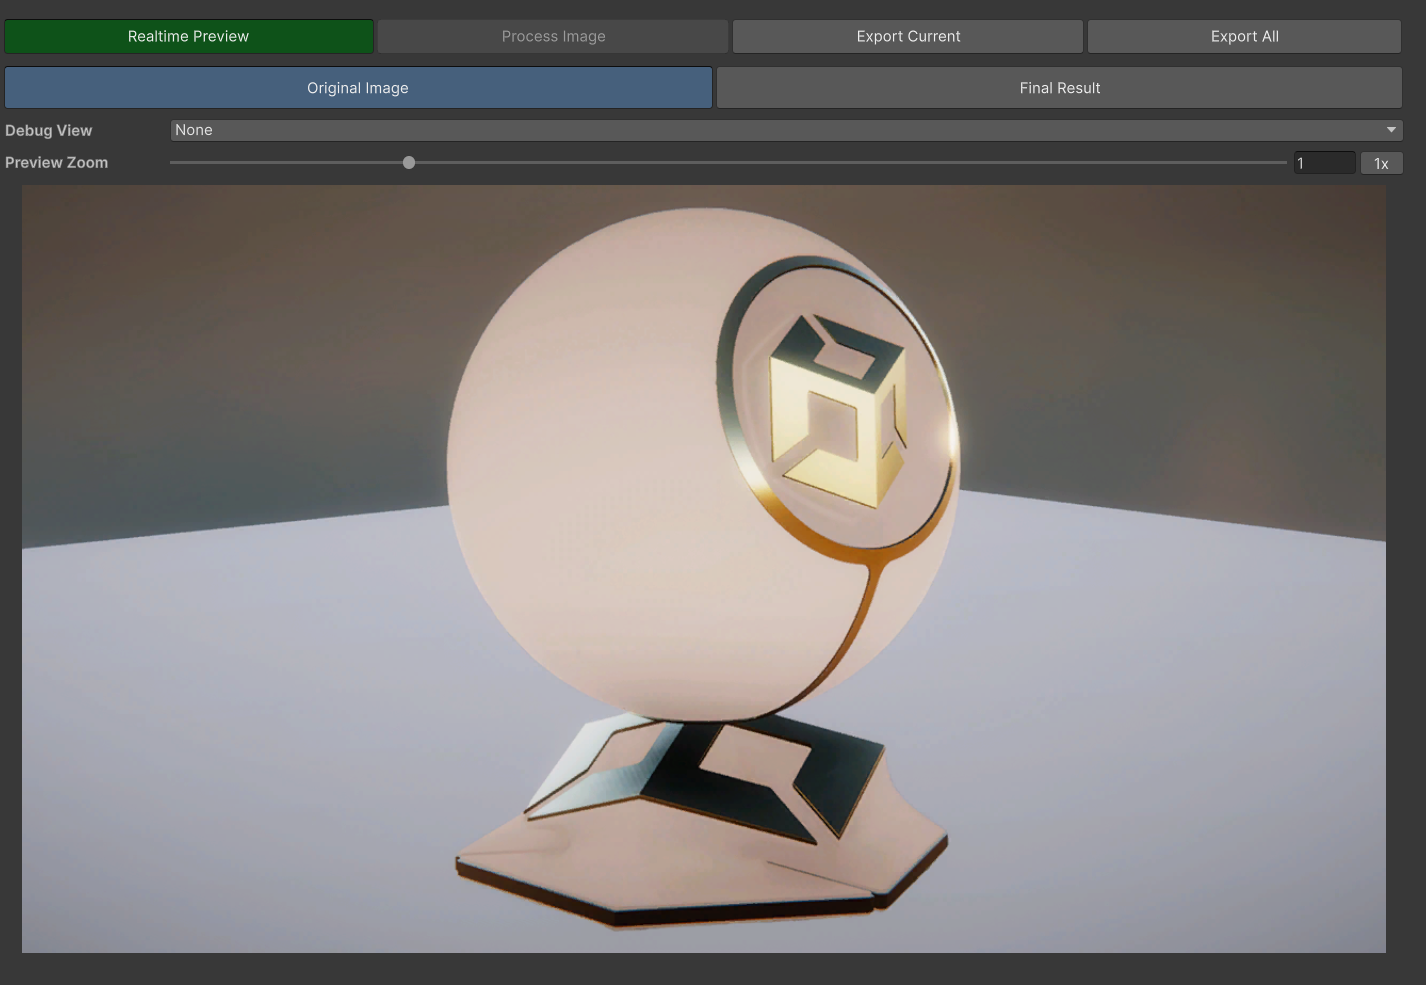
Below the configuration area you'll find two main tabs:
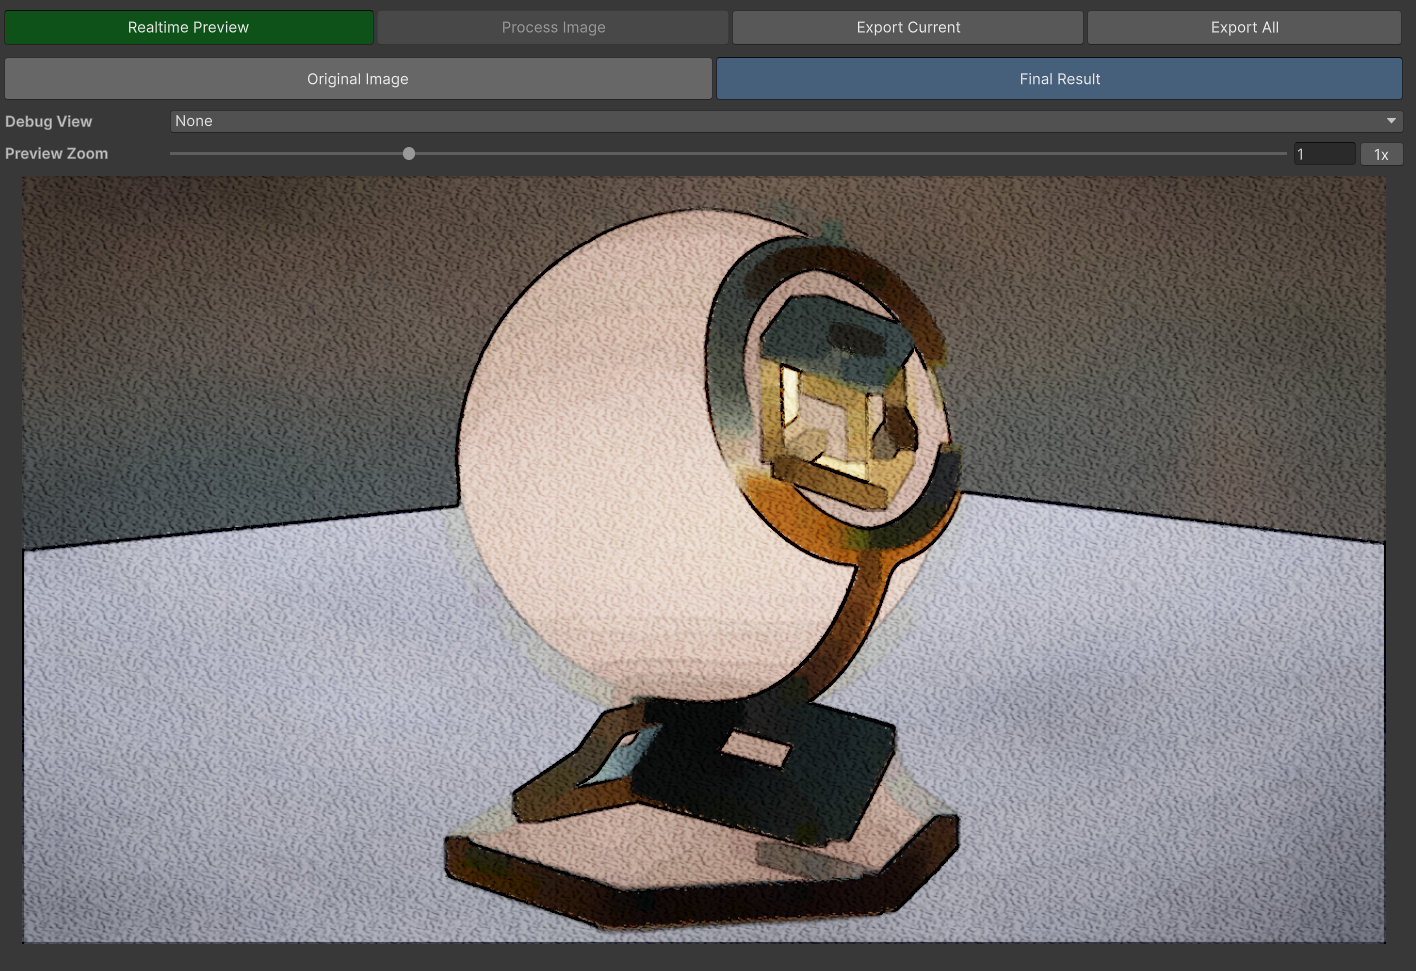
In addition, the Debug View dropdown lets you inspect intermediate buffers of the pipeline, useful for understanding or debugging what each stage is doing:
| Debug View | What it shows |
|---|---|
| None | Same as Final Result |
| MeanShiftResult | Result of the Mean-Shift segmentation (requires it to be enabled) |
| MorphologyResult | Result of the morphology filter (requires it to be enabled) |
| EdgeDarkening | Final result with the edge-darkening debug mode |
| DryBrush | Final result with the dry-brush debug mode |
| TurbulenceTexture | Turbulence texture used for pigment dispersion |
| DispersionTexture | Pigment dispersion texture |
| PaperTexture | Paper surface texture |
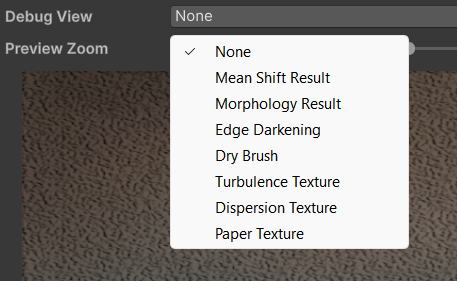
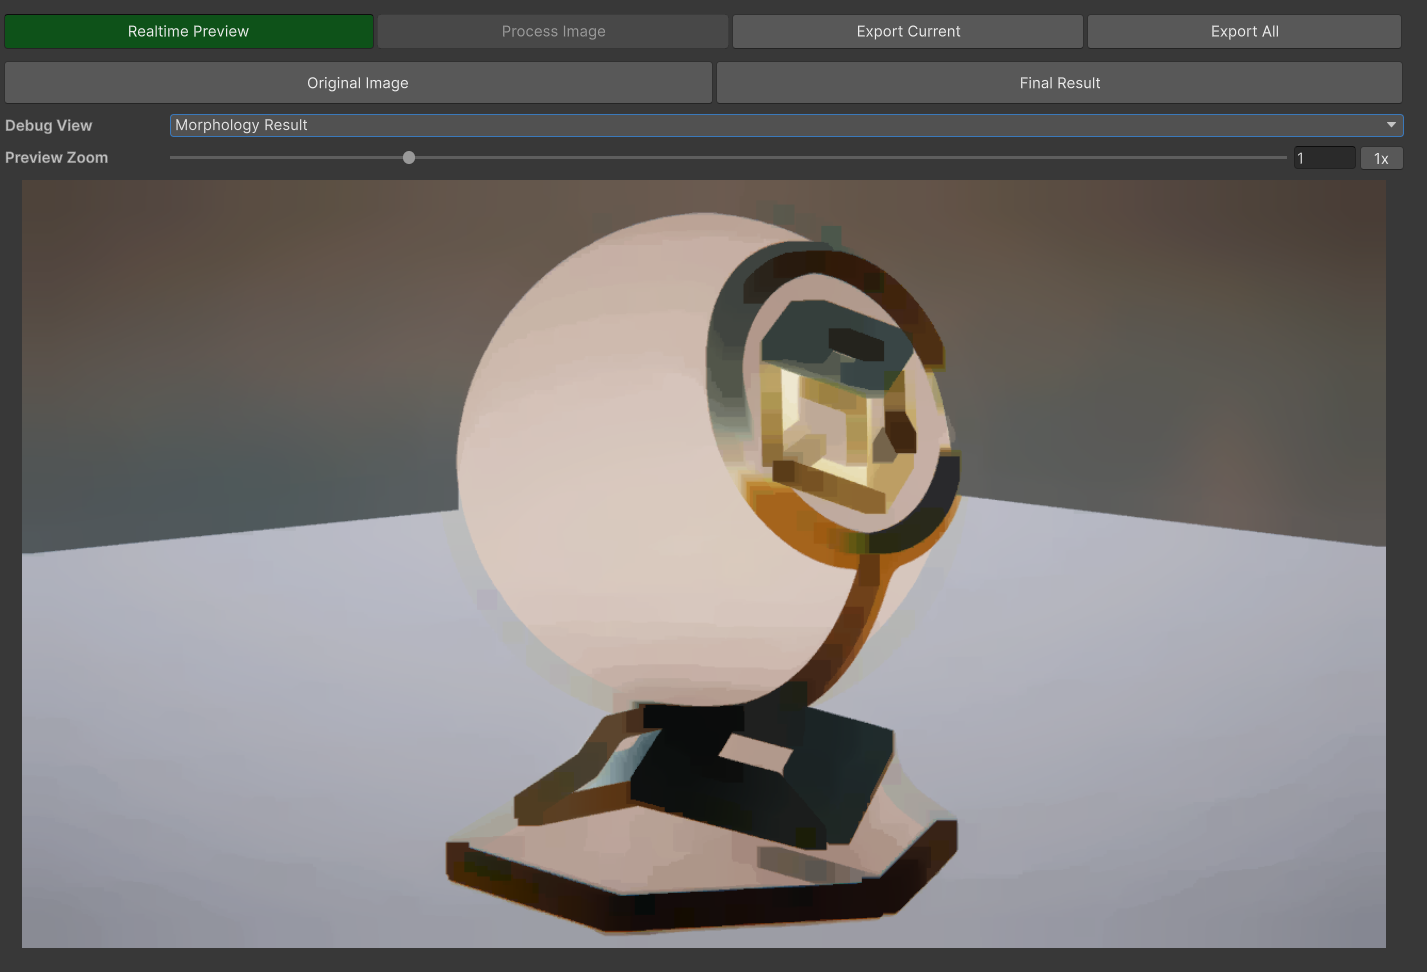
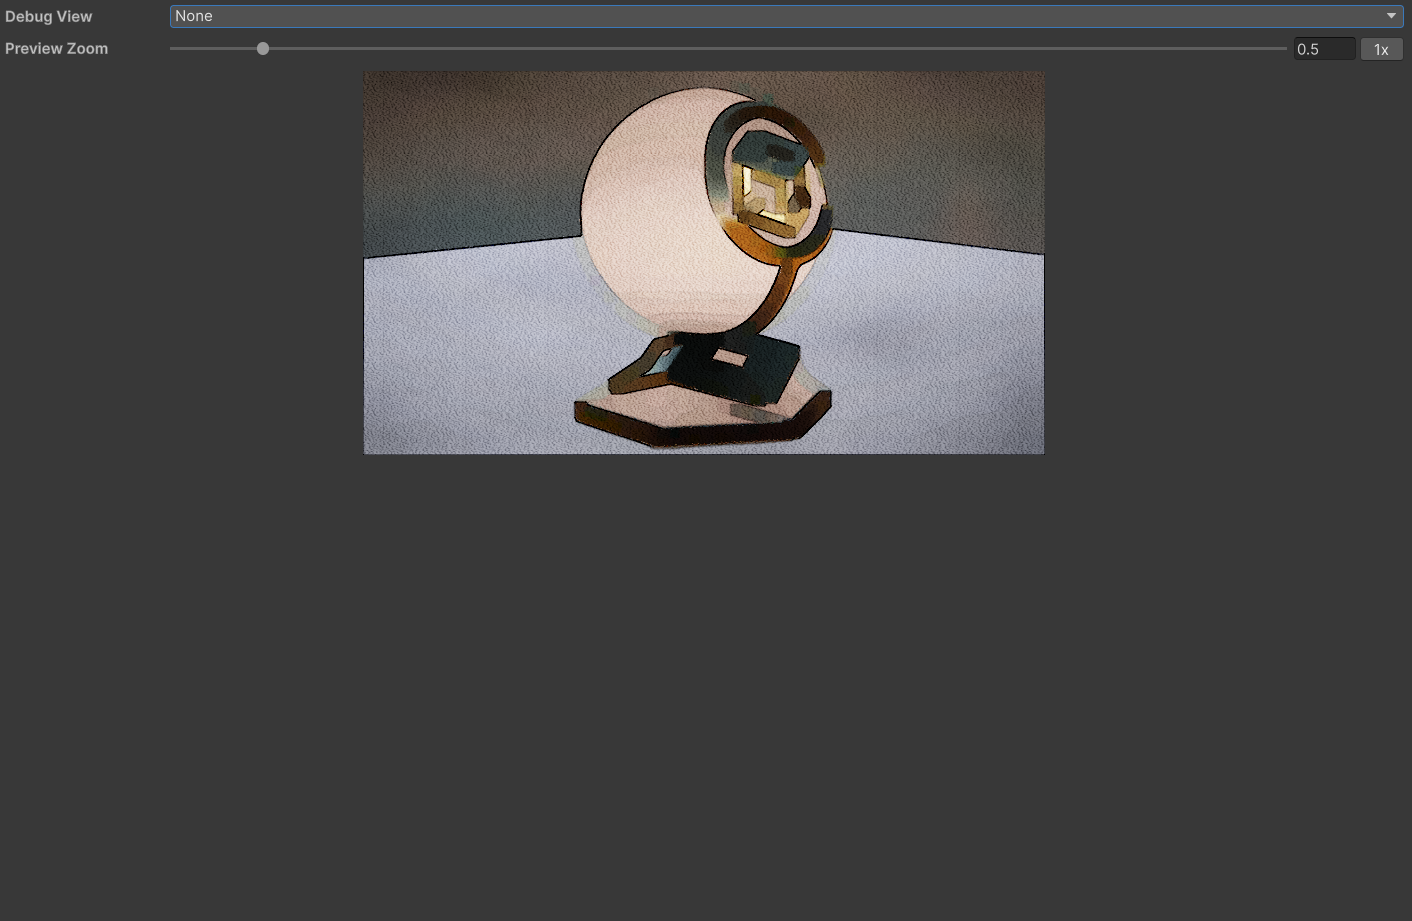
Note: switching between textures in the Loaded Textures list automatically resets the view back to Final Result, so you don't accidentally read a debug buffer from the wrong image.
Use the Preview Zoom slider to zoom in or out within the panel, or the 1x button to return to the original size.
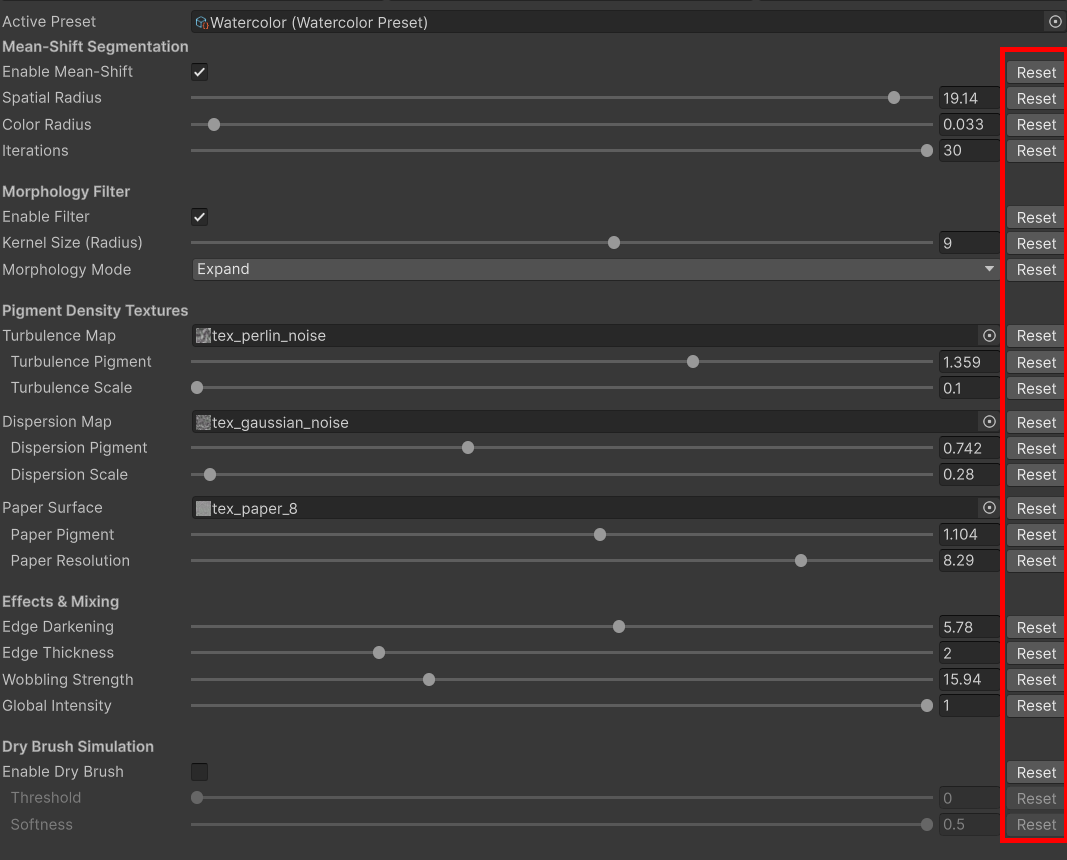
The right panel groups the active (or overridden) preset's controls into the following sections. Every individual parameter has its own Reset button to return it to its default value.
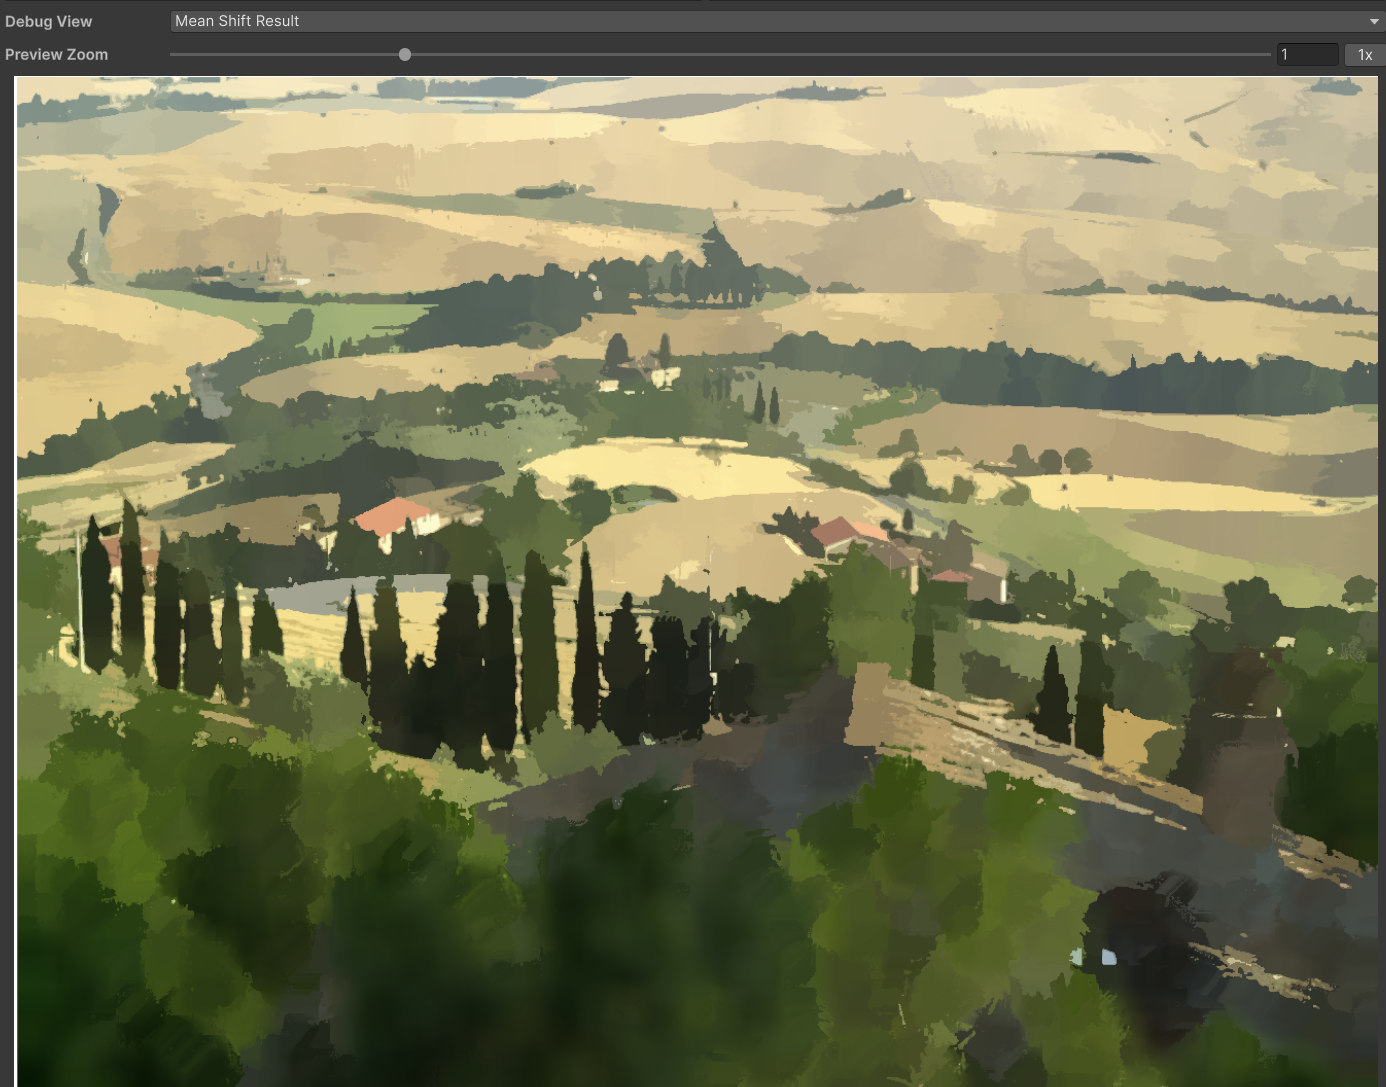
Groups similar colors into flat regions, simulating how watercolor tends to "flatten" in areas of uniform color.
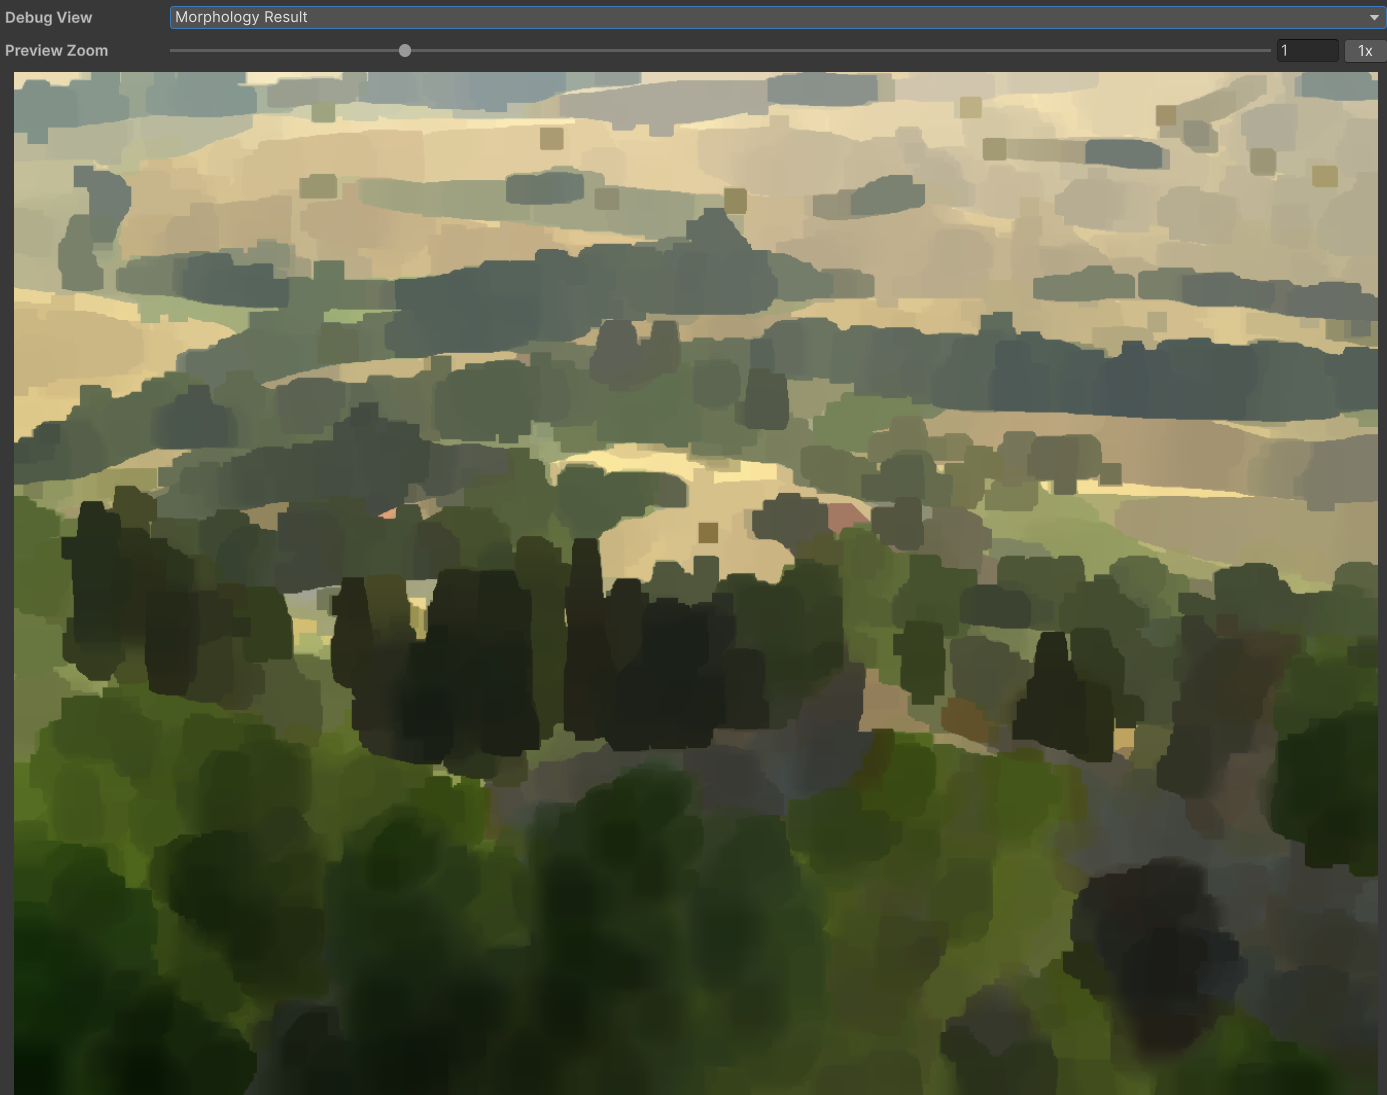
Smooths or expands the edges of the segmented regions.
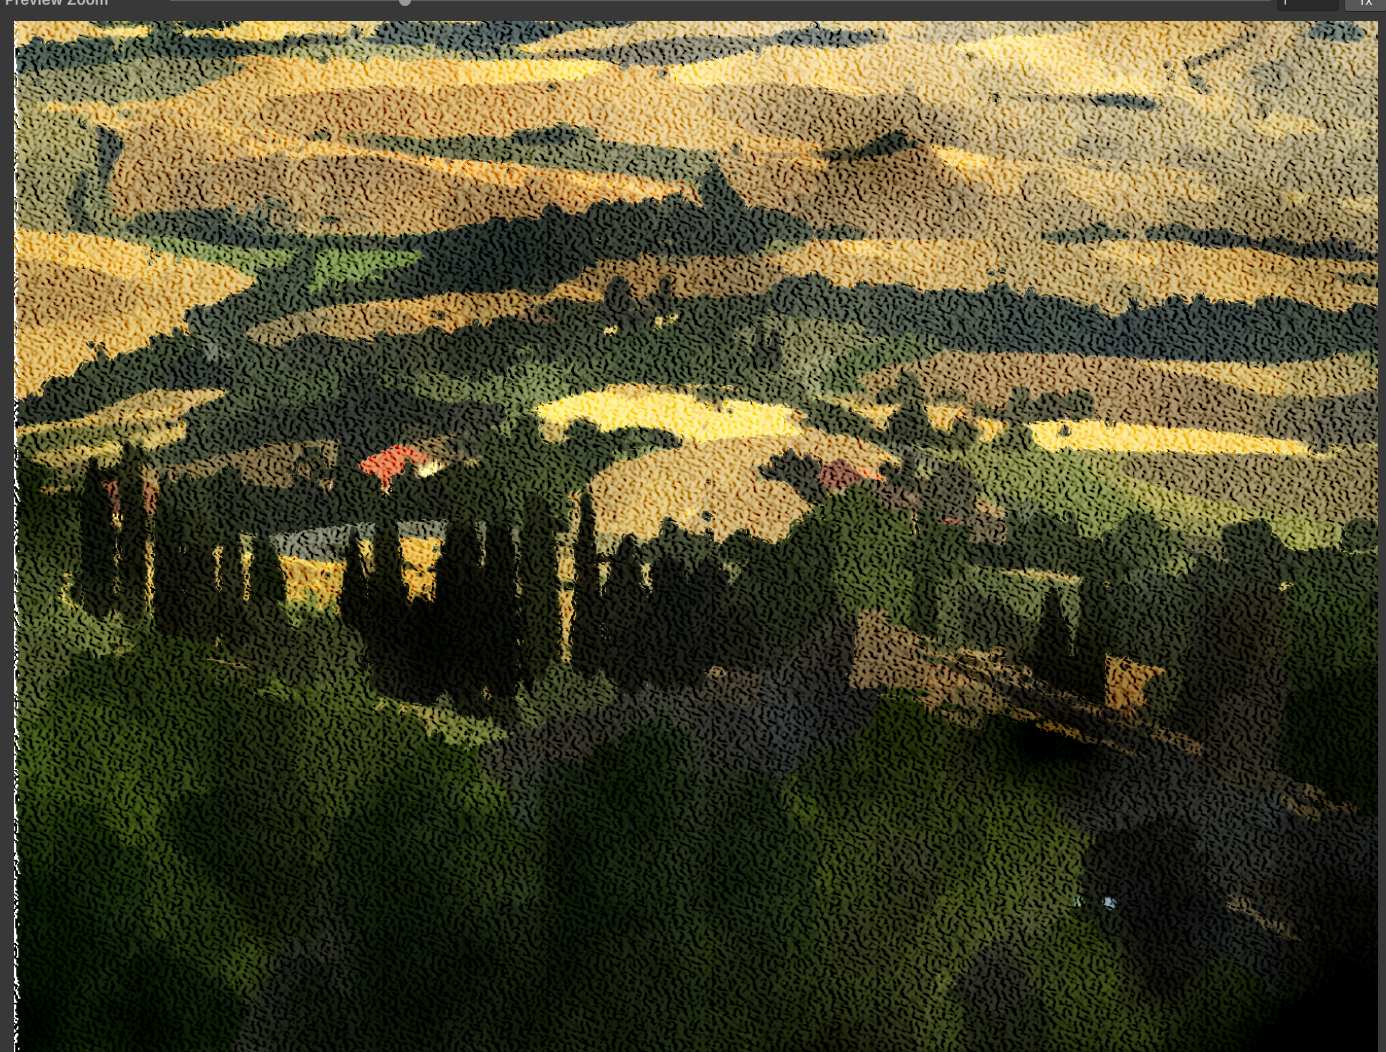
Controls the textures that simulate how pigment behaves on paper: turbulence, dispersion, and paper texture.
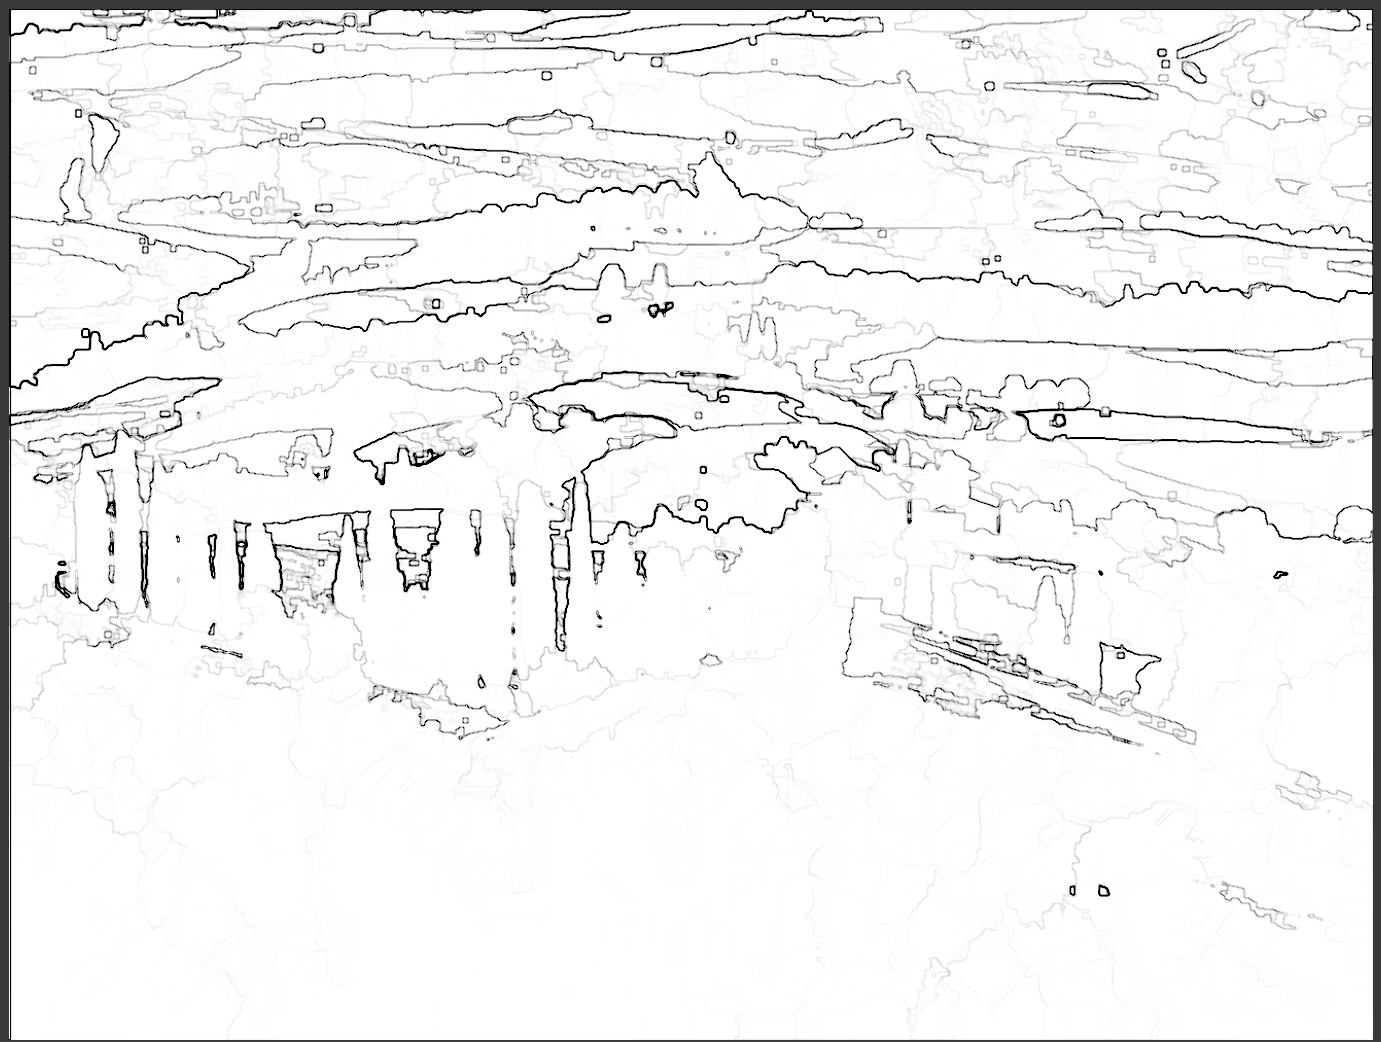
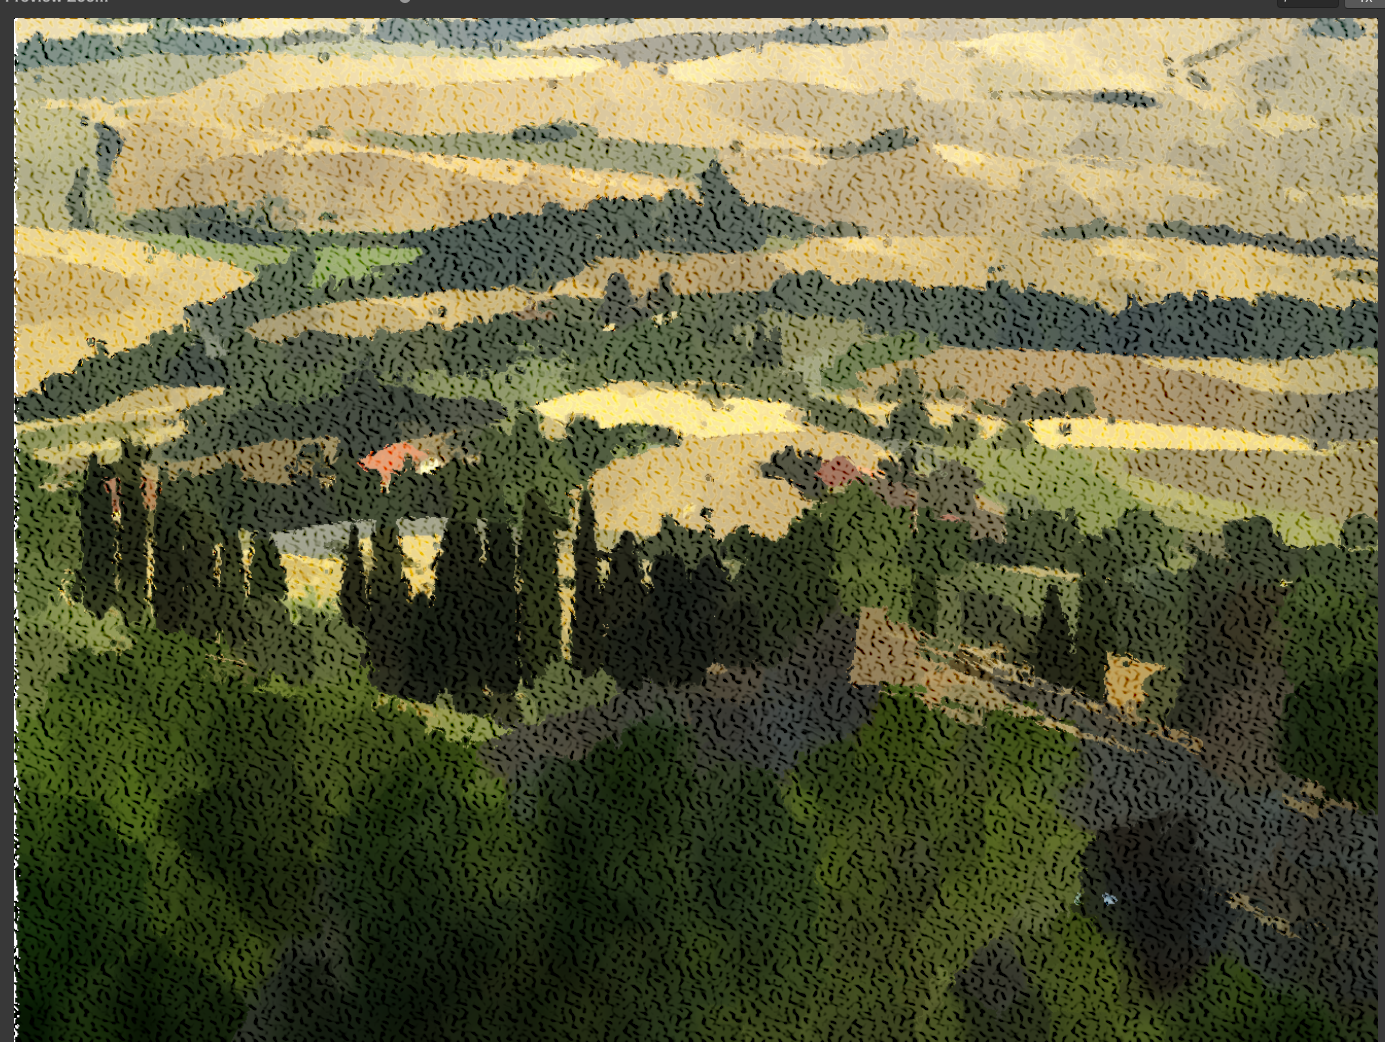
Simulates "dry brush" areas, where pigment doesn't fully cover the paper.
If a texture has an active override, any parameter change here only affects that texture. See Per-texture overridesPer-texture overrides.
You have two export options, both available once at least one image has been processed:
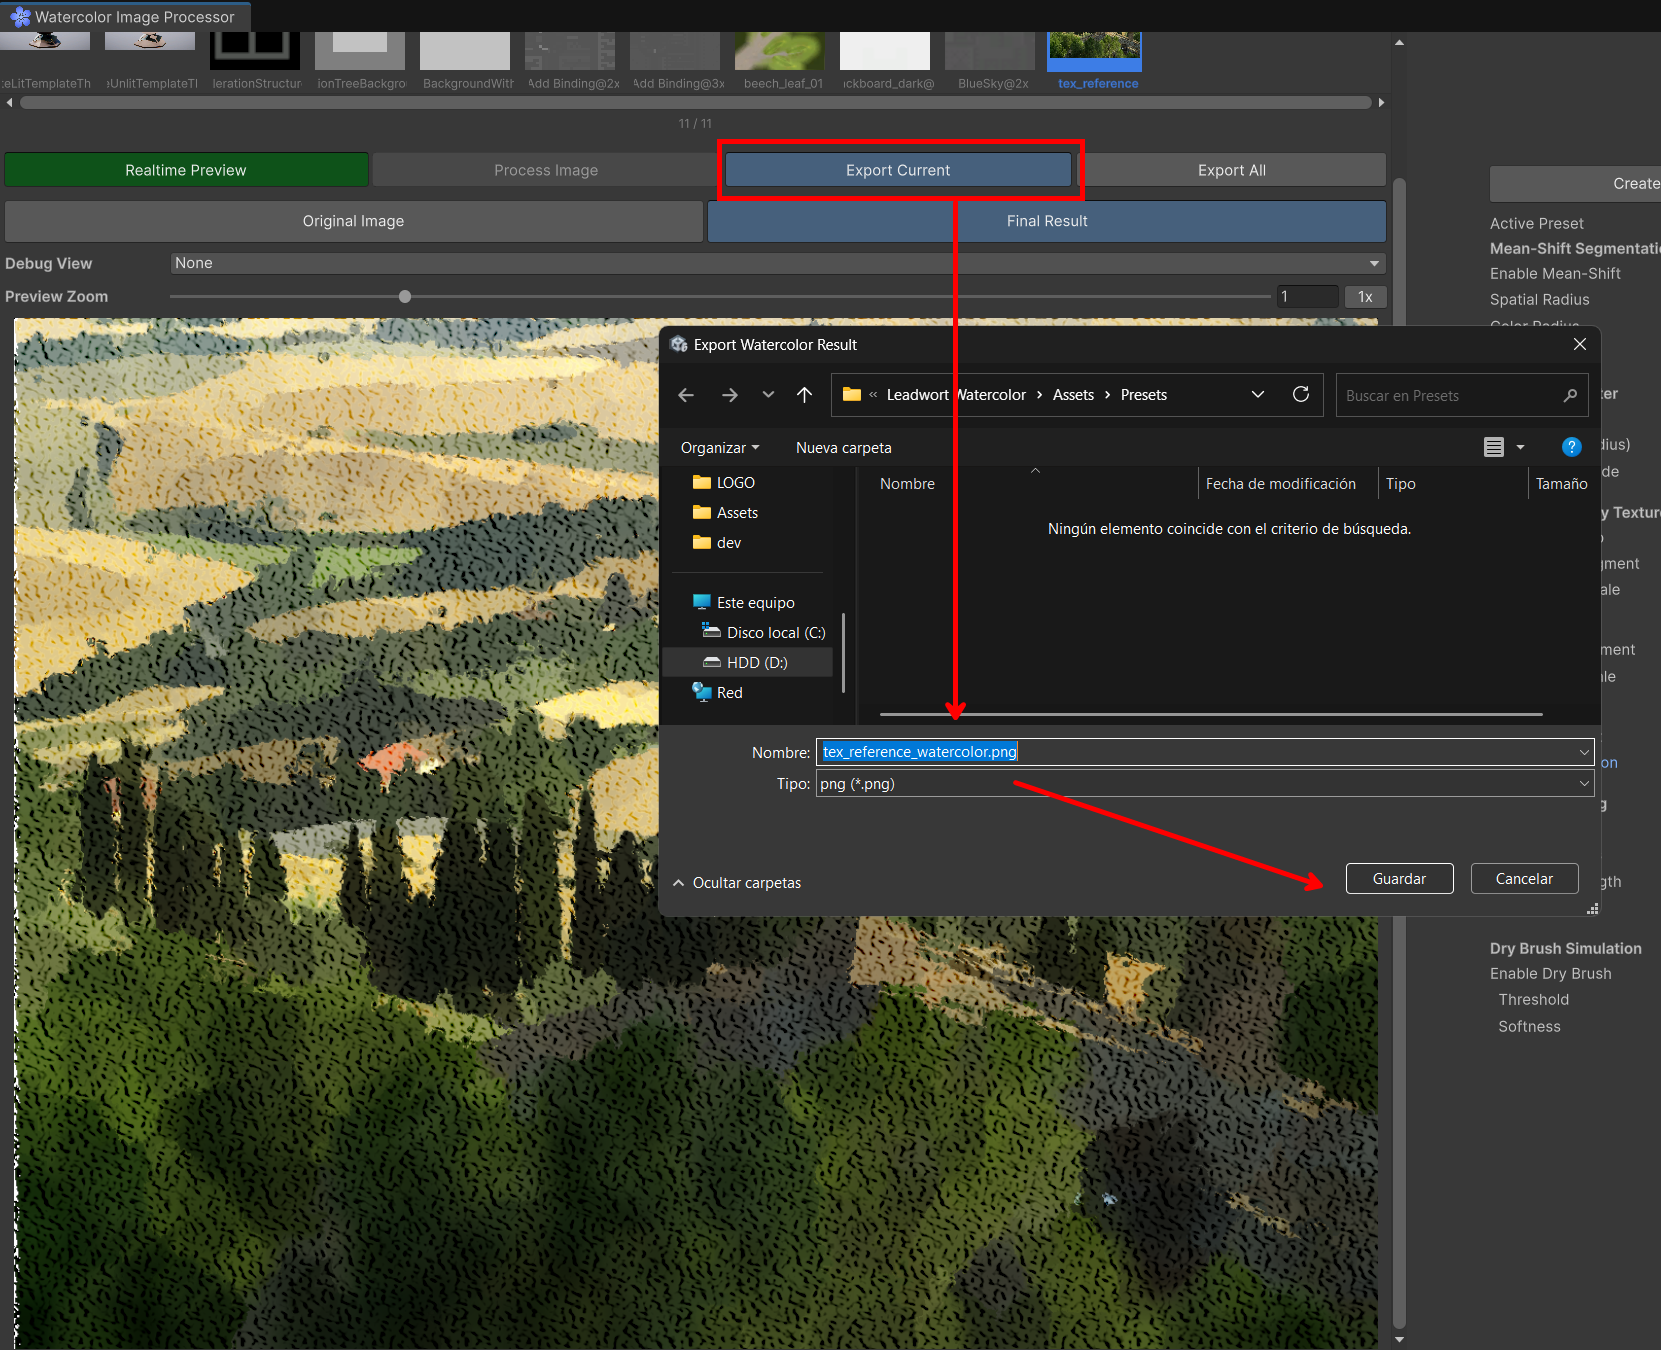
Click Export Current to save only the currently selected image's result. A native dialog opens, defaulting to a filename based on the source texture (e.g. myImage_watercolor.png).
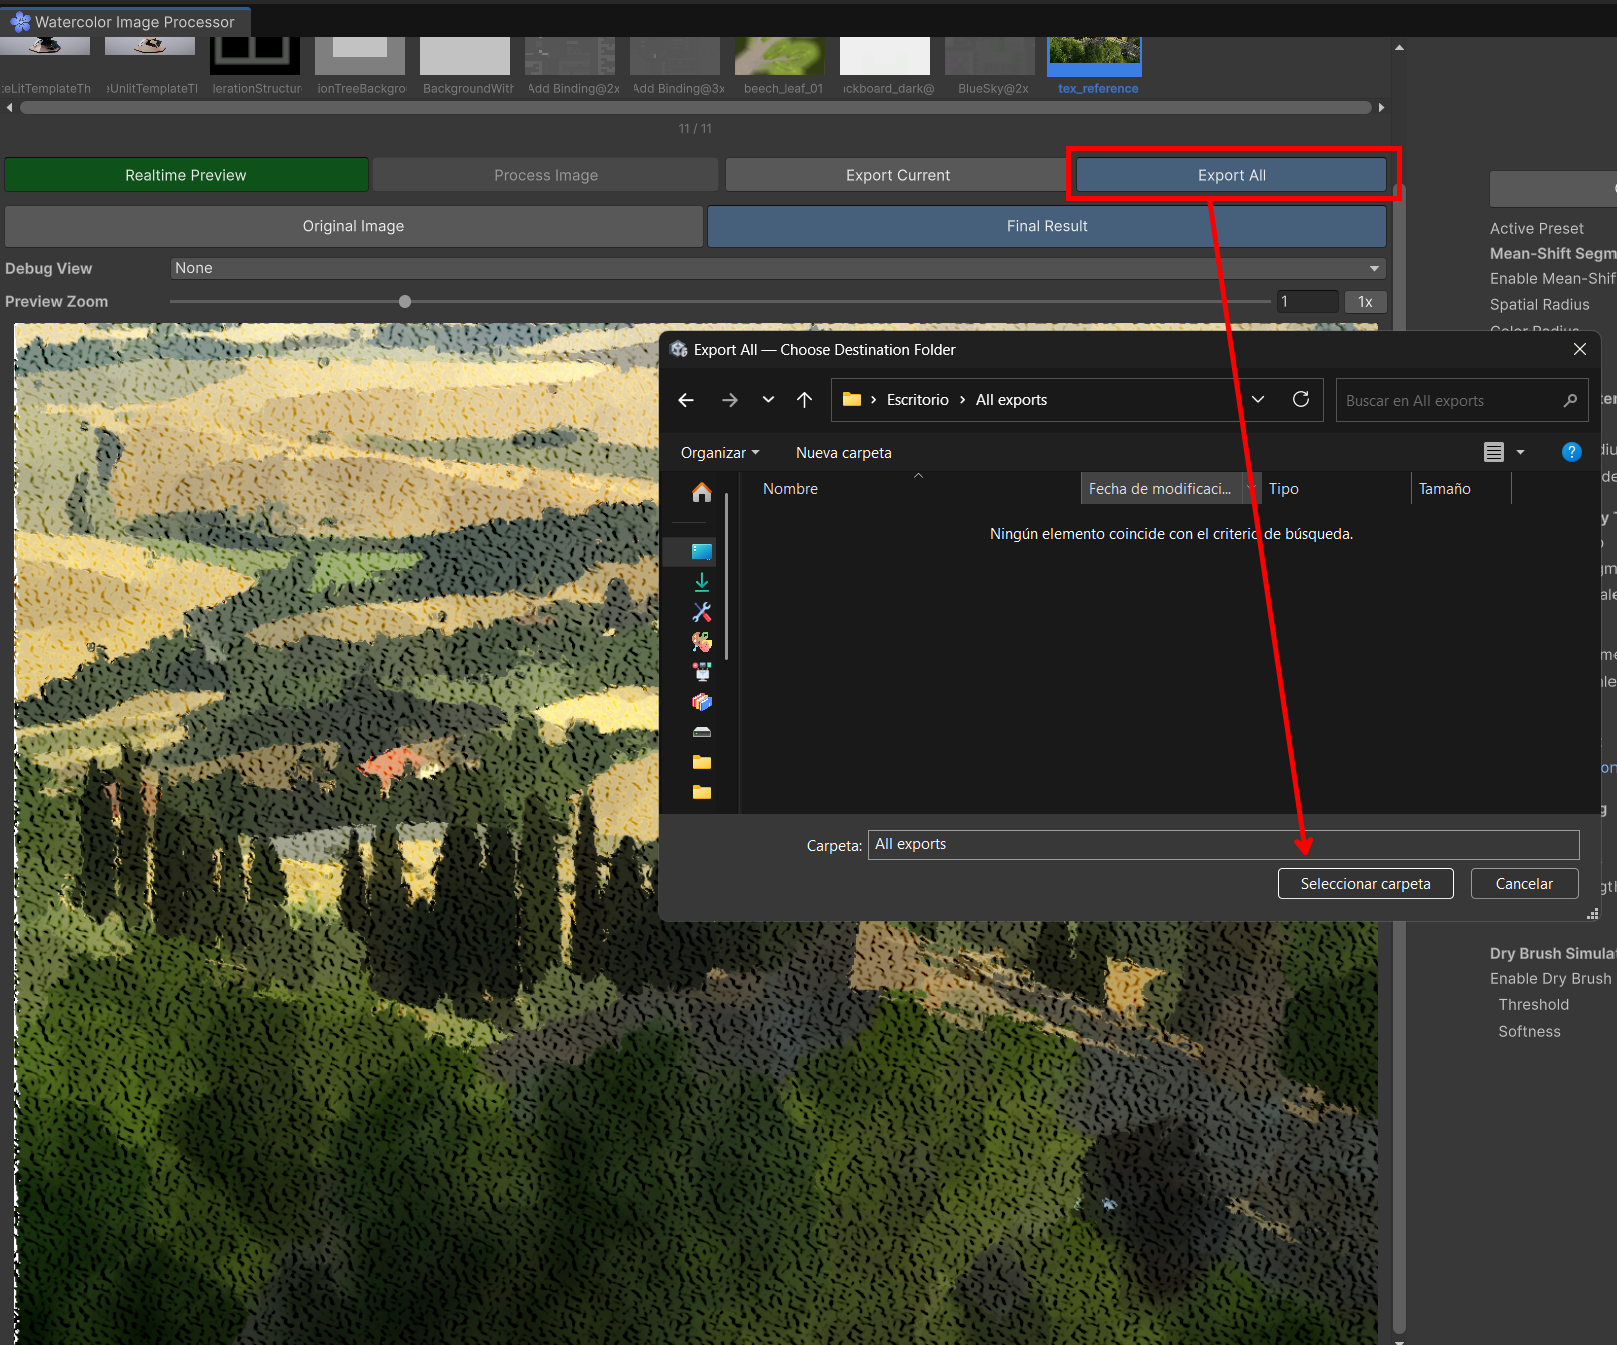
Click Export All to batch-process and export every texture in the Loaded Textures list using the shared preset (respecting any per-texture overrides). You'll be asked to choose a destination folder, then a progress bar shows processing status per image; you can cancel mid-batch.
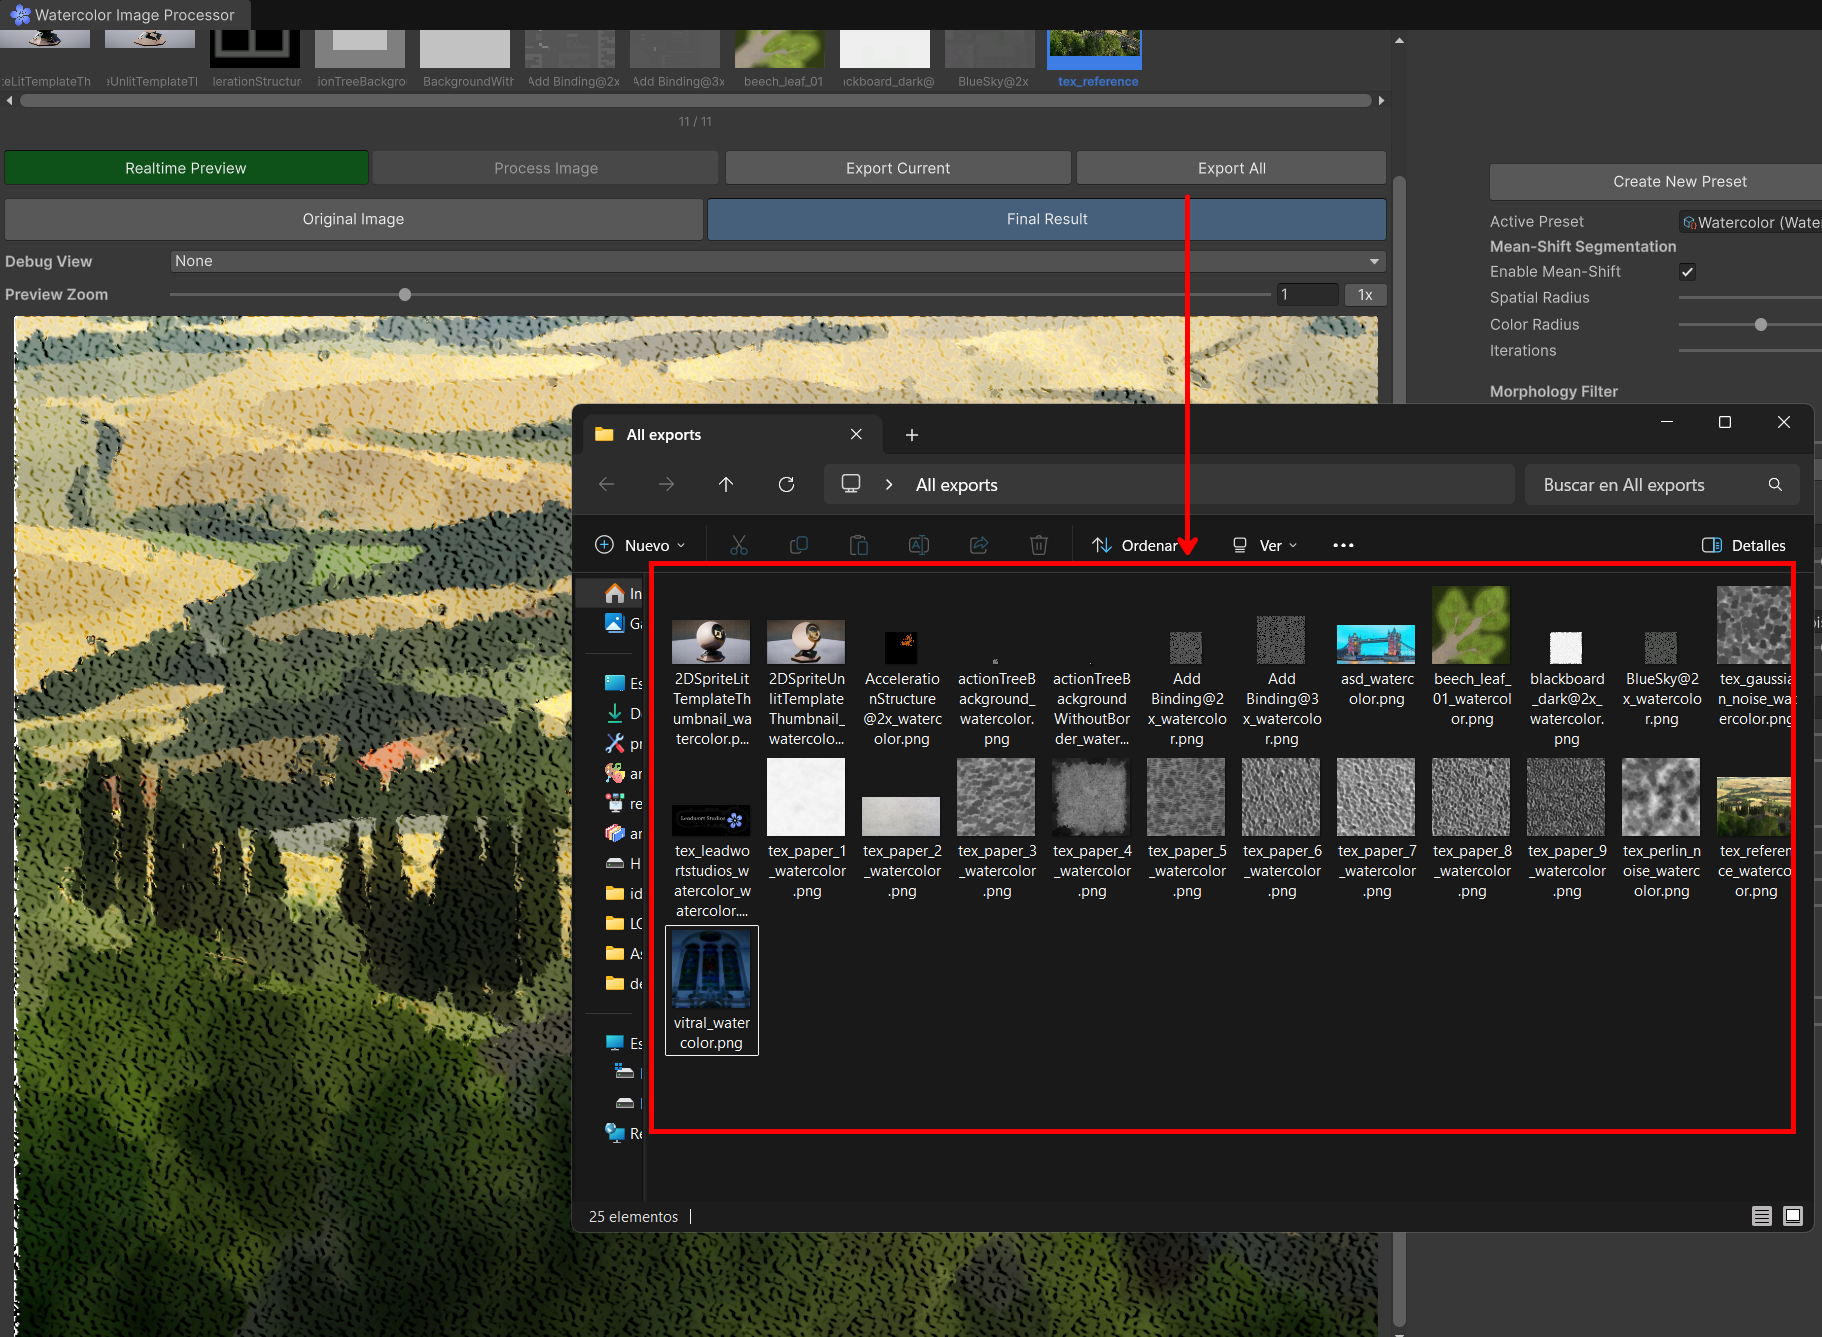
When the batch finishes, a summary is logged to the Console with the number of successes and failures and the destination folder.
If an export fails (for example, due to folder permissions or disk space) you'll see an error detailing the cause in the Console, prefixed with [Watercolor].
All parameter changes on the active (or overridden) preset are integrated with Unity's Undo system (Ctrl+Z / Cmd+Z, Ctrl+Y / Cmd+Y). You can undo slider, toggle, and texture changes just like any other editor operation.

The window automatically remembers your entire loaded texture list, which one was selected, the active preset, the zoom level, and every per-texture override — even if you close and reopen Unity. This is saved per-project (not a global editor setting).
| Symptom | Likely cause |
|---|---|
| The window shows "Compute shaders not found" | The .compute files are missing from the Resources/Shaders/Compute/... paths |
| The preview stays gray with a message | The selected debug view has no data (the related effect is disabled, etc.) |
| The result doesn't change when adjusting a parameter | Realtime Preview is disabled, press Process Image manually |
| I can't touch any parameters | No Watercolor Preset is assigned, create one or assign one |
| A parameter change isn't showing up on other images in my batch | That texture has an active Override — changes only apply to it, not the shared preset |
| Nothing happens on export / an error shows up in the console | Check the [Watercolor] message in the console: it usually points to permissions or an invalid path |
See also: Classes for the full class reference.
Changelog: Changelog
 1.17.0